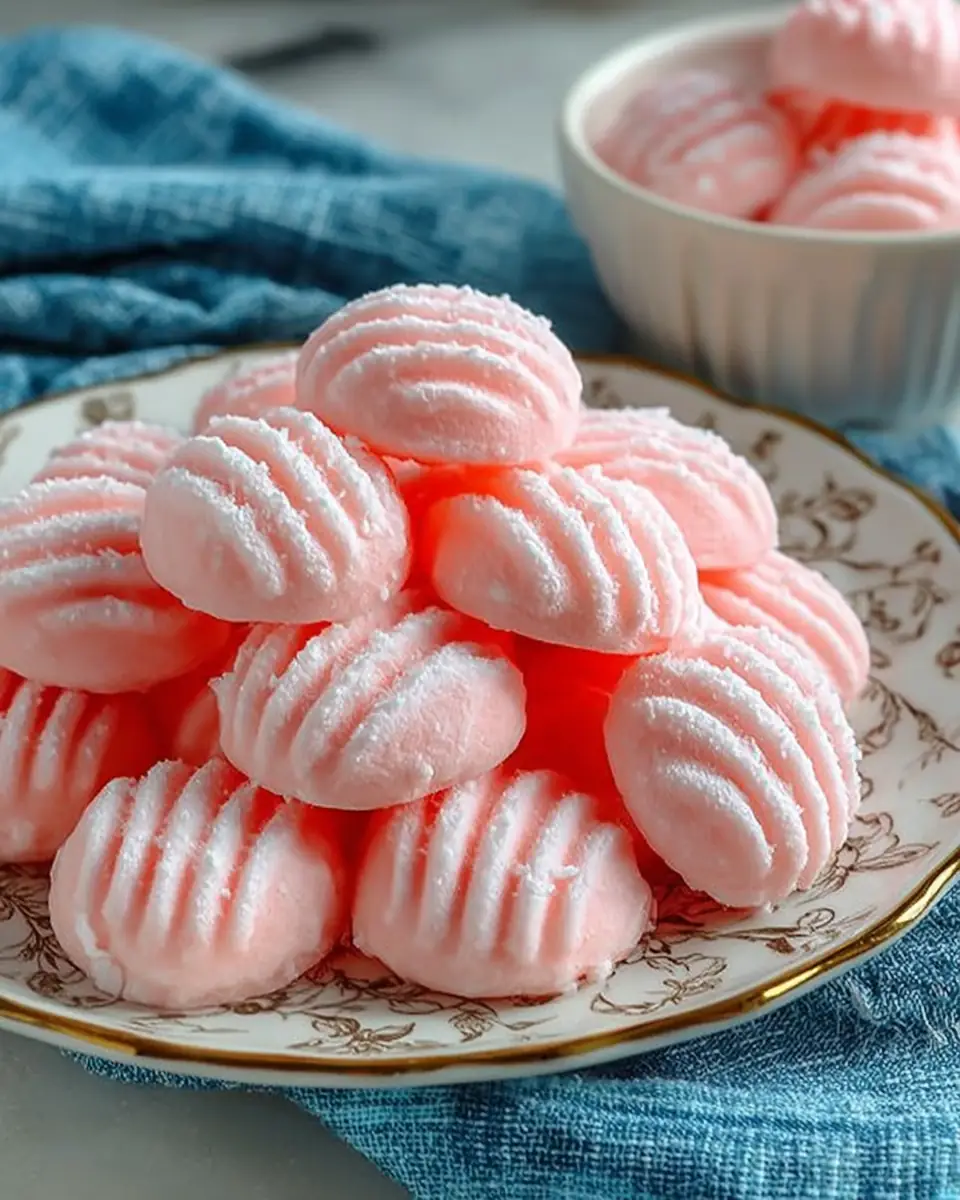
Cream Cheese Mints: A Sweet and Refreshing Delight
Welcome to Food Lovers Blog, your ultimate destination for delicious and easy-to-make recipes. Today, we’re diving into a classic sweet treat that’s perfect for any occasion: Cream Cheese Mints. These delightful little mints are not only incredibly easy to make, but they’re also sure to be a hit at your next party or gathering. Made with just a few simple ingredients, these mints offer a creamy texture and refreshing minty flavor that will leave everyone asking for more. Let’s get started!
A Brief History of Mints
To truly appreciate the beauty of Cream Cheese Mints, it’s interesting to delve into the history of mints themselves. Mints have been cherished for centuries, primarily for their refreshing taste and medicinal properties. Ancient cultures, including the Egyptians, Greeks, and Romans, used mint leaves for their aromatic and digestive qualities. Over time, mints evolved into the sweet confections we know today, often enjoyed as palate cleansers or breath fresheners after meals.
In the Middle Ages, mint gained popularity in Europe as a culinary and medicinal herb. People believed that mint could cure stomach aches and aid digestion. Such beliefs persisted through the Renaissance, during which mint became more widely cultivated and utilized in various forms. By the 18th century, mint candy started appearing in pharmacopeias as a remedy for indigestion and halitosis.
Cream cheese mints, in particular, are a beloved tradition in the United States, often featured at weddings, baby showers, and holiday gatherings. Their melt-in-your-mouth texture and customizable flavors and colors make them a versatile confection for any celebration. These mints gained popularity in the mid-20th century, especially in the Midwest, where they became a staple at celebratory events.
Ingredients List
Before we dive into the process, let’s gather all the necessary ingredients for our Cream Cheese Mints:
- 4 oz cream cheese, at room temperature
- 1 tbsp butter
- 1 lb powdered sugar, plus extra for sprinkling
- A few drops of mint extract
- A few drops of red food coloring
These ingredients are simple yet essential for achieving the perfect balance of creaminess and mintiness. The cream cheese provides a rich, smooth base, while the butter adds a slight richness that enhances the overall flavor. Powdered sugar is the primary sweetening agent, and its fine texture ensures a smooth, cohesive mixture. Mint extract introduces the characteristic freshness, and food coloring allows for personalization, making these mints as visually appealing as they are tasty.
Timing
Preparation Time:
15 minutes
Drying Time:
2-3 hours
Step-by-Step Instructions
Step 1: Mix the Base
Start by adding the cream cheese, butter, and powdered sugar into a stand mixer. Blend on medium speed until the mixture is fully incorporated and resembles the texture of playdough. This base mixture forms the foundation of your mints, providing the creamy texture that complements the minty flavor.
When mixing, it’s crucial to ensure that the cream cheese and butter are at room temperature. This allows them to blend smoothly without leaving any lumps. The texture of the mixture should be firm enough to hold its shape but pliable enough to form into balls.
Step 2: Flavor and Color
Add a few drops of mint extract into the mixture and blend again to evenly distribute the flavor. Mint extract is potent, so start with a few drops and increase gradually if needed. Next, introduce the red food coloring, blending until you achieve your desired color. Feel free to experiment with different colors to match the theme of your event.
The amount of food coloring used can significantly impact the visual appeal of your mints. For pastel shades, a single drop might suffice, whereas deeper hues will require more. Remember, the key is to add color gradually, as it’s easier to intensify color than to lighten it once added.
Step 3: Form the Mints
Line a baking sheet with parchment paper and sprinkle it lightly with powdered sugar. Roll the mint mixture into small balls, approximately 1 inch in diameter, and place them on the prepared sheet. The powdered sugar prevents sticking and adds a touch of sweetness to the exterior.
Rolling the mints into uniform balls ensures even drying and a consistent appearance. If you’re making these mints for a specific event, consider using a small cookie scoop to achieve identical sizes, enhancing the professional look of your confection.
Step 4: Shape the Mints
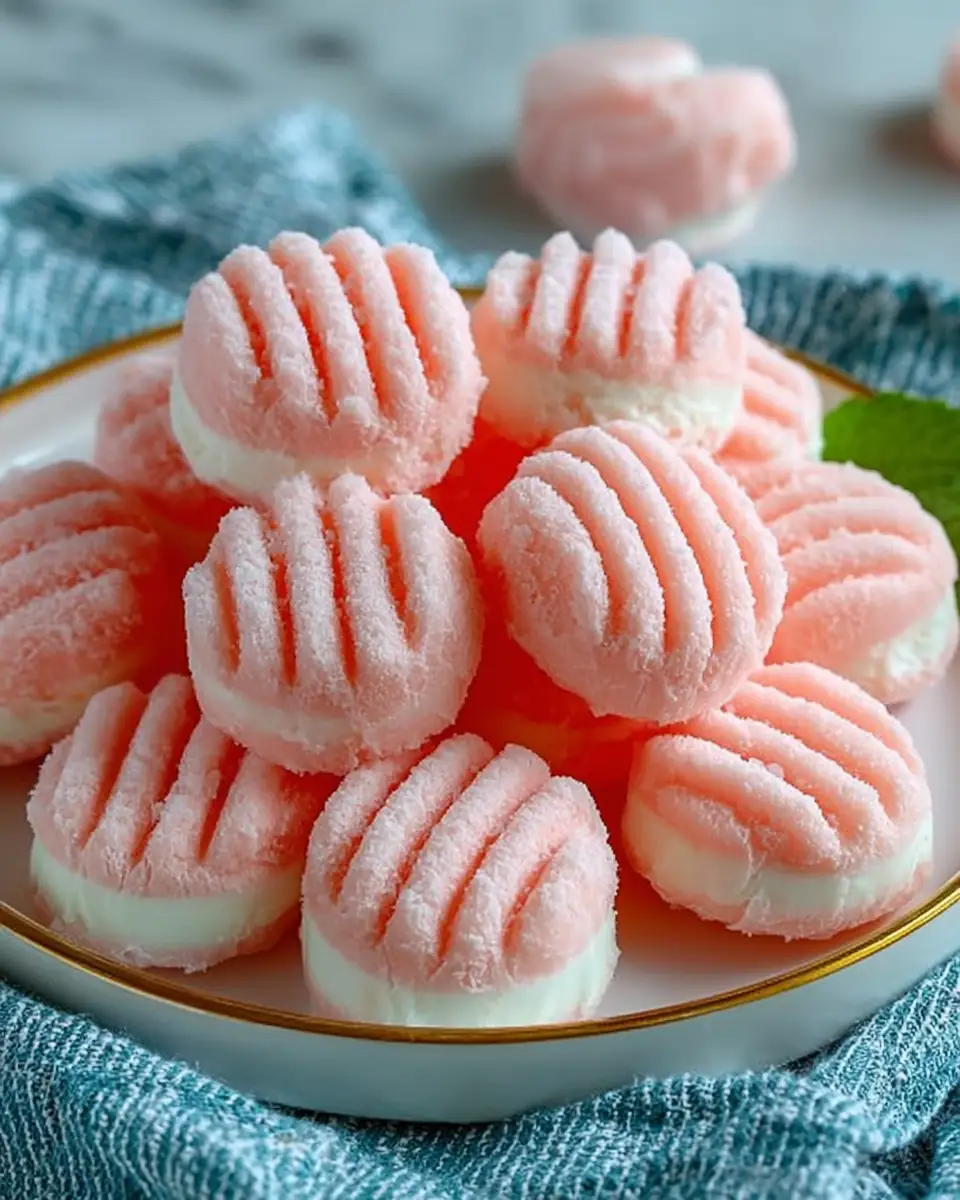
Dip a fork in powdered sugar and gently press it onto the top of each mint to create a decorative pattern. This step not only adds an aesthetic touch but also slightly flattens the mints, ensuring even drying.
Creating a pattern with a fork not only enhances the visual appeal but also provides a slight texture contrast once the mints are dry. The pattern can be customized with different utensils, such as a small spoon for a smooth finish or a fork for a classic crosshatched design.
Step 5: Dry and Store
Allow the mints to dry at room temperature for a few hours until they are dry to the touch and firm. Once dry, store them in an airtight container. Refrigerate or freeze according to your preference. Proper storage ensures the mints maintain their freshness and delightful texture.
The drying process is essential to achieving the perfect texture. A cool, dry environment is ideal, as excessive humidity can prolong drying time and affect the mints’ consistency. When storing, consider layering the mints with parchment paper to prevent them from sticking together.
Nutritional Information
Per serving (approx. 3 mints): – Calories: 150 – Total Fat: 4g – Saturated Fat: 2.5g – Carbohydrates: 28g – Sugar: 25g – Protein: 1g
These mints are a delightful treat, but it’s good to be mindful of portion sizes, especially if you’re watching your sugar intake. Enjoy them as part of a balanced diet, savoring each mint as a small indulgence.
Healthier Alternatives for the Recipe
For a lighter version of these Cream Cheese Mints, consider using reduced-fat cream cheese and substituting some of the powdered sugar with a natural sweetener like stevia or erythritol. This can help reduce the calorie count and sugar content while maintaining that delightful minty flavor. Additionally, you can explore using natural food colorings derived from fruits and vegetables for a healthier twist.
Natural food colorings can be made from a variety of sources. For instance, beet juice provides a vibrant red, turmeric offers a bright yellow, and spirulina yields a soft blue-green. These alternatives not only reduce artificial additives but also add a subtle depth of flavor.
Serving Suggestions
Cream Cheese Mints are perfect for weddings, baby showers, or holiday gatherings. Their versatility allows them to complement various dessert tables. Serve them alongside a selection of cookies and pastries or pair them with a cup of coffee for an after-dinner treat. Consider arranging them on a decorative platter with fresh mint leaves for an elegant presentation.
For themed events, consider coordinating the color of your mints with the overarching theme. For example, pastel pink and blue mints would be lovely for a baby shower, while red and green could enhance a holiday spread. Their delicate appearance makes them a charming addition to any dessert assortment.
Common Mistakes to Avoid
- Sticky Mixture: If your mint mixture is too sticky, add more powdered sugar, one tablespoon at a time, until it reaches the desired consistency. The key is to achieve a pliable dough that holds its shape.
- Over-drying: Ensure that you don’t over-dry the mints. They should be firm but not rock-hard. Over-drying can lead to a crumbly texture, which detracts from the creamy experience.
Another common mistake is using too much mint extract, resulting in an overpowering flavor. Always start with a minimal amount and taste-test as you go. Additionally, ensure your cream cheese and butter are adequately softened to avoid a lumpy mixture.
Storing Tips for the Recipe
Store your Cream Cheese Mints in an airtight container in the refrigerator for up to 10-14 days. If you wish to keep them longer, they can be frozen for up to 10-12 months. Just make sure they are well-sealed to prevent freezer burn. When freezing, consider separating layers with parchment paper to prevent sticking.
Proper storage is key to maintaining the mints’ quality. If freezing, label the container with the date to ensure you use them within the recommended timeframe. Thaw frozen mints in the refrigerator before serving to maintain their texture.
Conclusion
Making Cream Cheese Mints is a simple and rewarding process that yields delicious results. With their creamy texture and refreshing minty taste, these mints are sure to be a hit at any event. Try them out and let us know how they turn out! Their adaptability in flavor and color allows you to tailor them to any occasion, making them a staple in your dessert repertoire.
Whether you’re a seasoned chef or a novice baker, these mints offer an easy yet impressive addition to your culinary skills. The joy of crafting these confections is matched only by the delight of sharing them with loved ones. Enjoy the process and savor the results!
FAQs
Q: Can I use a different flavor extract?
Absolutely! Feel free to experiment with different extracts like vanilla or almond for a unique twist. Each extract will bring its own distinct flavor profile, allowing you to customize the mints to suit your taste.
Q: How can I prevent the mints from sticking to the fork?
Dip your fork in powdered sugar before pressing down on each mint to prevent sticking. This simple trick ensures the fork leaves a clean pattern without any mess.
Q: Can I make these mints in advance?
Yes, you can prepare them ahead of time and store them in the refrigerator or freezer until needed. This makes them a convenient option for busy hosts preparing for events.
Q: What is the best way to thaw frozen cream cheese mints?
The best method is to transfer them from the freezer to the refrigerator a few hours before serving. This gradual thawing helps maintain their texture and flavor.
Bonus: Creative Variations
Chocolate Mint: Add a tablespoon of cocoa powder to the mixture for a chocolatey twist. The cocoa adds a rich depth that pairs beautifully with the mint, reminiscent of popular mint chocolate candies.
Citrus Mint: Incorporate a few drops of lemon or orange extract along with the mint for a refreshing citrus blend. This variation offers a zesty twist that complements the sweetness of the mints.
Nutty Delight: Roll the finished mints in finely chopped nuts before drying for added texture and flavor. Consider using pecans, almonds, or pistachios for a nutty contrast that enhances the creamy base.
Spiced Mint: Introduce a pinch of cinnamon or nutmeg to the mix for a warm, spiced flavor profile. This variation is perfect for autumnal gatherings or holiday celebrations.
Herbal Mint: Experiment with adding a hint of fresh herbs like basil or thyme for an unexpected and sophisticated herbal note. The subtle addition can elevate the mints from simple sweets to gourmet confections.
With these variations, the possibilities are endless. Each version offers a unique taste experience while maintaining the simplicity and charm of the original recipe. Enjoy experimenting and discovering your favorite flavor combinations!
For more delightful recipes and tips, check out our related posts on Food Lovers Blog. Happy cooking!


Cream Cheese Mints
Ingredients
Equipment
Method
- In stand mixer add your butter, cream cheese and powdered sugar and mix until incorporated and it looks like play doh.
- Add in a few drops of mint extract and blend again. Add in food coloring and blend until you get your desired color.
- Line a baking sheet with parchment paper and sprinkle with powdered sugar. Roll your mint mixture into small balls and place on baking sheet.
- Dip your fork in the powdered sugar on sheet and press gently into tops of the mints.
- Let dry for a few hours until they aren’t wet and are firmer. Refrigerate or freeze to store.