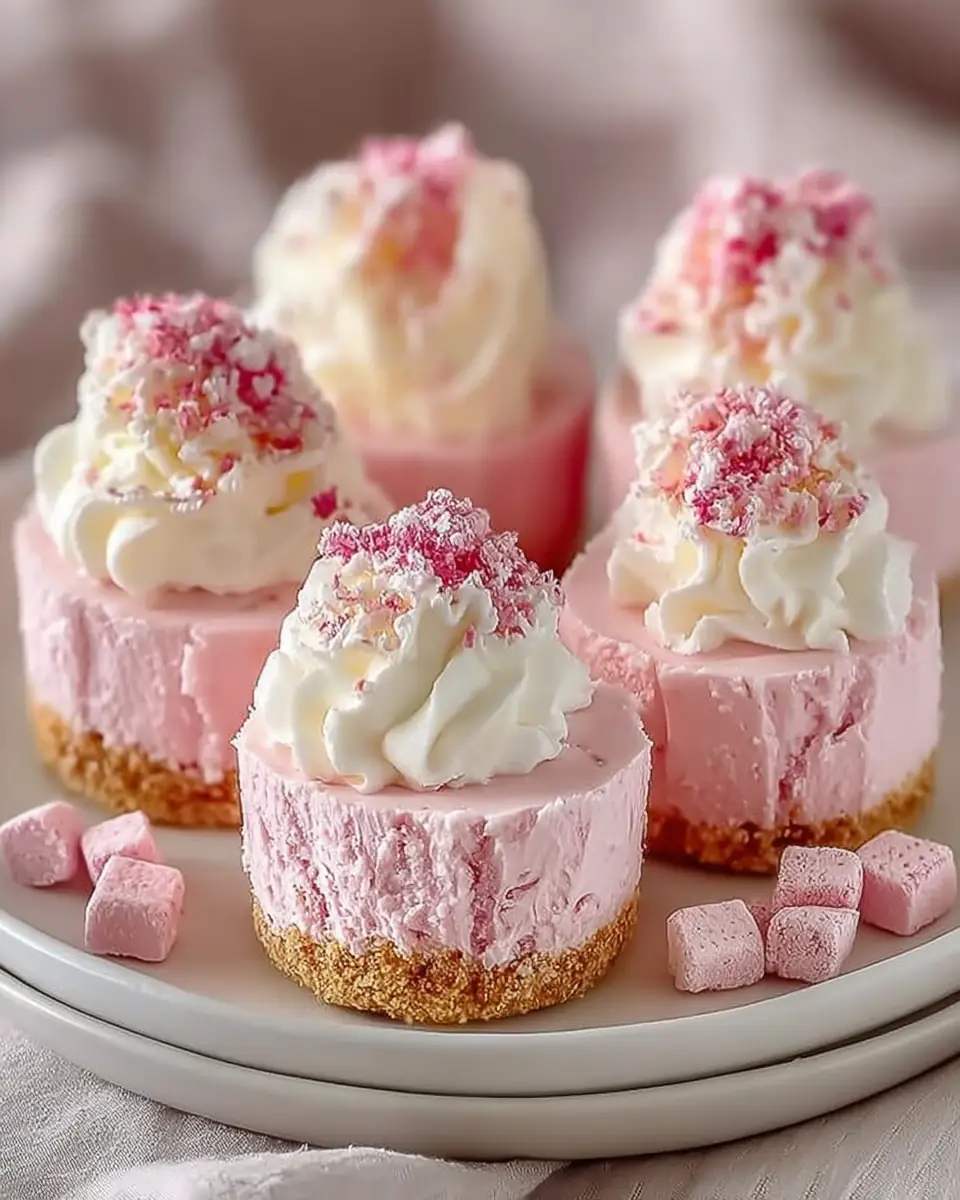

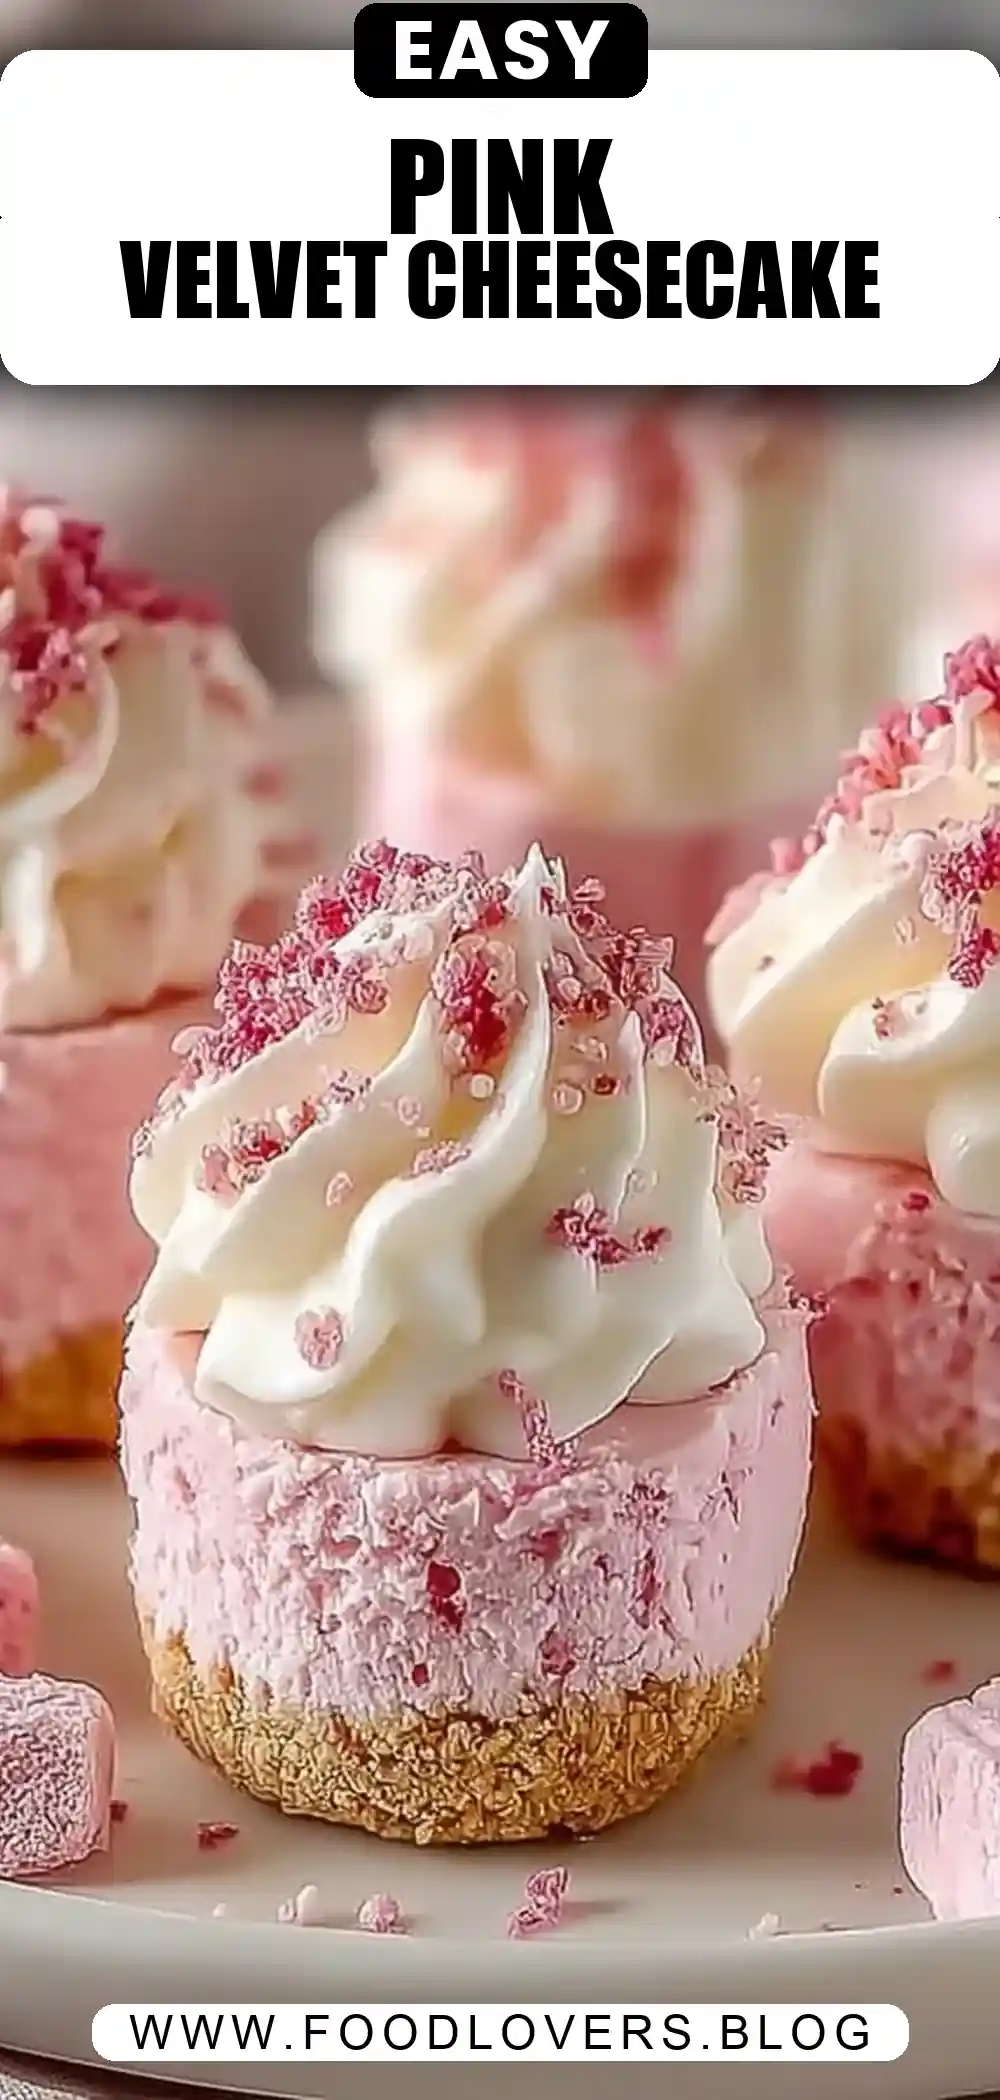
No Bake Pink Velvet Cheesecake Bites: Easy, Creamy, and Perfectly Pretty
Welcome to Food Lovers Blog, where we celebrate the joy of creating delicious and visually stunning desserts! Today, we’re diving into a delightful treat: No Bake Pink Velvet Cheesecake Bites: Easy, Creamy, and Perfectly Pretty. These luscious bites are perfect for any occasion, whether you’re hosting a party or simply indulging in a sweet craving. Let’s embark on this culinary journey to discover how you can easily recreate these elegant bites at home.
The Allure of No-Bake Desserts
No-bake desserts have increasingly become a favorite in many kitchens, and for good reasons. They save the trouble of turning on the oven, especially during hot weather, and they often require less time and fewer complicated techniques. The concept of no-bake allows even beginner bakers to create sophisticated treats effortlessly. These cheesecake bites epitomize this simplicity while providing a rich, luxurious flavor and a stunning appearance.
Why Choose No-Bake?
The beauty of no-bake desserts extends beyond their simplicity. They offer a unique texture and taste that baked desserts sometimes lack. The creamy consistency of a no-bake cheesecake, for instance, is unmatched, delivering a melt-in-your-mouth experience. This method also preserves the freshness of ingredients like cream cheese and whipped cream, ensuring that the flavors remain vibrant and pronounced.
Ingredients List
To make these No Bake Pink Velvet Cheesecake Bites, you’ll need the following ingredients:
- 1 ½ cups graham cracker crumbs or vanilla wafer crumbs
- 5 tbsp unsalted butter, melted
- Pinch of salt
- 8 oz cream cheese, softened
- ½ cup powdered sugar
- 1 tsp vanilla extract
- Red food coloring or 1 tbsp beet juice concentrate
- 1 cup heavy whipping cream, whipped
- Mini chocolate chips or red velvet cake crumbs for garnish (optional)
- Fresh raspberries or white chocolate ganache (optional)
Ingredient Insights
Each ingredient plays a crucial role in crafting these cheesecake bites. The graham cracker or vanilla wafer crumbs provide a buttery, slightly sweet base that contrasts with the creamy filling. Cream cheese is the star, offering a tangy richness essential to any cheesecake. Powdered sugar sweetens the filling without adding graininess, while vanilla extract enhances the overall flavor profile. Adding a splash of color, red food coloring or beet juice concentrate creates the signature pink hue, evoking the elegance of velvet. The whipped cream introduces airiness, ensuring a light texture that complements the dense base.
Timing
Preparation Time: 20 minutes
Chilling Time: 2-3 hours
Total Time: Approximately 3 hours
Step-by-Step Instructions
Step 1: Prepare the Crust
- In a medium bowl, combine the graham cracker or vanilla wafer crumbs with melted butter and a pinch of salt. Mix until the crumbs are evenly coated. The butter acts as the binding agent, helping the crumbs stick together to form a solid base.
Step 2: Form the Base
- Press the crumb mixture firmly into the bottom of a lined mini muffin tin or a silicone mold. Ensure an even, compact layer to form the base of your cheesecake bites. The compression is key: it ensures that the base holds together when you remove the bites from the mold.
Step 3: Make the Creamy Filling
- In a separate bowl, beat the softened cream cheese until smooth. Gradually add powdered sugar and vanilla extract, continuing to beat until well combined. This step ensures that the filling is sweet and has a rich vanilla undertone.
Step 4: Add Color and Whipped Cream
- Stir in the red food coloring or beet juice concentrate until you achieve the desired pink hue. Gently fold in the whipped cream, ensuring a light and airy texture. The whipped cream adds volume and a luscious, melt-in-your-mouth quality to the filling.
Step 5: Assemble the Bites
- Spoon the pink cream cheese mixture over the prepared crust in each mold, filling them to the top. Smooth the surface with a spatula. The smooth top allows for easy garnishing later.
Step 6: Chill and Set
- Refrigerate the cheesecake bites for 2-3 hours, or until they are firm and set. This step is crucial for the perfect bite-sized texture. Patience is key here; the chilling process allows the flavors to meld and the texture to firm up.
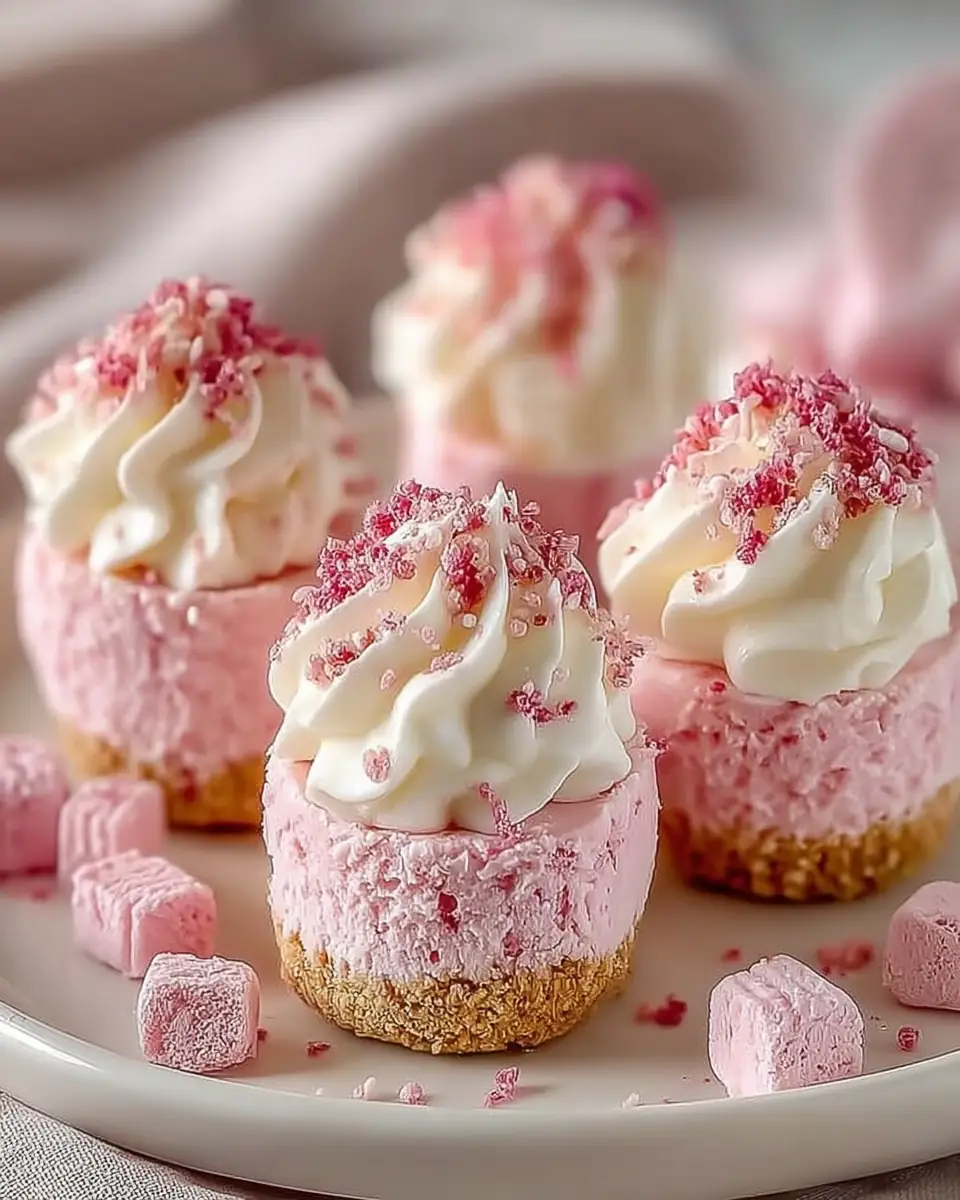
Step 7: Garnish and Serve
- Before serving, add optional garnishes like mini chocolate chips, red velvet cake crumbs, fresh raspberries, or a drizzle of white chocolate ganache for an extra touch of elegance. The garnishes not only enhance the visual appeal but also add layers of flavor and texture.
Nutritional Information
Per serving (1 bite):
- Calories: Approximately 150
- Protein: 2g
- Carbohydrates: 12g
- Fat: 11g
- Sugar: 8g
Healthier Alternatives for the Recipe
For a healthier twist on these No Bake Pink Velvet Cheesecake Bites, consider these modifications:
- Substitute regular cream cheese with a reduced-fat or plant-based alternative. This swap can significantly reduce the calorie and fat content while still retaining creaminess.
- Use whole wheat graham crackers for the crust to add fiber. Whole grains provide a nuttier flavor and additional nutrients.
- Replace powdered sugar with a natural sweetener like stevia or monk fruit. These options can help cut down on sugar while maintaining sweetness.
- Opt for beet juice concentrate instead of artificial food coloring for a natural tint. Not only is this a healthier choice, but it also adds a subtle earthy flavor.
The Benefits of Healthier Choices
Choosing healthier alternatives doesn’t just modify the nutritional profile; it can also introduce new flavors and textures. Reduced-fat cream cheese maintains the essential tanginess but lightens the overall dish, while whole grain options add a delightful crunch. Natural sweeteners like stevia can subtly alter the sweetness, offering a unique twist that can be more palatable for those looking to reduce their sugar intake.
Serving Suggestions
- Serve these bites chilled as an elegant dessert at a bridal shower or baby shower. Their charming pink hue makes them perfect for celebrations.
- Pair with a glass of sparkling rosé for a sophisticated touch. The effervescence of the wine complements the creamy texture.
- Arrange them on a platter with fresh fruit and assorted cheeses for a delightful party spread. This combination offers a balance of sweet and savory.
Enhancing the Experience
Presentation is key when serving these elegant bites. Consider using decorative plates or tiered dessert stands to add height and visual interest to your display. Pairing with complementary colors, like white or gold platters, can enhance the pink hue of the cheesecake bites, making them even more eye-catching.
Common Mistakes to Avoid
- Avoid overmixing the whipped cream into the cream cheese mixture, as it can deflate the airy texture. Gentle folding is the secret to maintaining volume.
- Ensure the crust is pressed firmly to prevent crumbling when serving. A tightly packed base ensures structural integrity.
- Don’t skip the chilling step; it’s essential for setting the cheesecake bites properly. Skipping or rushing this step can result in a less-than-ideal texture.
Troubleshooting Tips
If you find your crust crumbling or the filling too runny, consider these troubleshooting tips:
- If the crust is crumbling, ensure you’ve used enough butter to bind the crumbs. You can also try refrigerating the crust for a few minutes before adding the filling to help it set.
- If the filling is too runny, ensure your cream cheese was fully softened before mixing and that the whipped cream was properly whipped to stiff peaks.
Storing Tips for the Recipe
- Store the cheesecake bites in an airtight container in the refrigerator for up to 5 days. This keeps them fresh and prevents them from absorbing other odors.
- For longer storage, freeze the bites and thaw them in the refrigerator before serving. This method allows you to make them well in advance for future events.
Prolonging Freshness
To maintain the freshness of your cheesecake bites, consider placing a piece of parchment paper between layers if stacking them in a container. This prevents them from sticking together and helps preserve their shape and texture.
Conclusion
These No Bake Pink Velvet Cheesecake Bites: Easy, Creamy, and Perfectly Pretty are an absolute delight to make and enjoy. With their rich flavor and stunning appearance, they are sure to impress your guests and satisfy your sweet tooth. Experiment with different garnishes and serving ideas to make them your own. The versatility and simplicity of this recipe make it a staple for any dessert repertoire.
FAQs
1. Can I make these cheesecake bites ahead of time?
Yes, they can be prepared up to two days in advance and stored in the refrigerator until serving. This makes them an ideal choice for stress-free entertaining.
2. Can I use a different type of crust?
Absolutely! Feel free to use any cookie crumbs you prefer, such as Oreos or digestive biscuits, for a unique twist. Each type of cookie will bring its own flavor profile to the dessert.
3. How do I achieve a vibrant pink color naturally?
Using beet juice concentrate is an excellent natural alternative to red food coloring for a beautiful pink hue. It’s a simple way to add color without synthetic additives.
Explore more delightful recipes and cooking tips on our blog to continue your culinary adventures! These cheesecake bites are just the beginning of the sweet possibilities waiting in your kitchen.
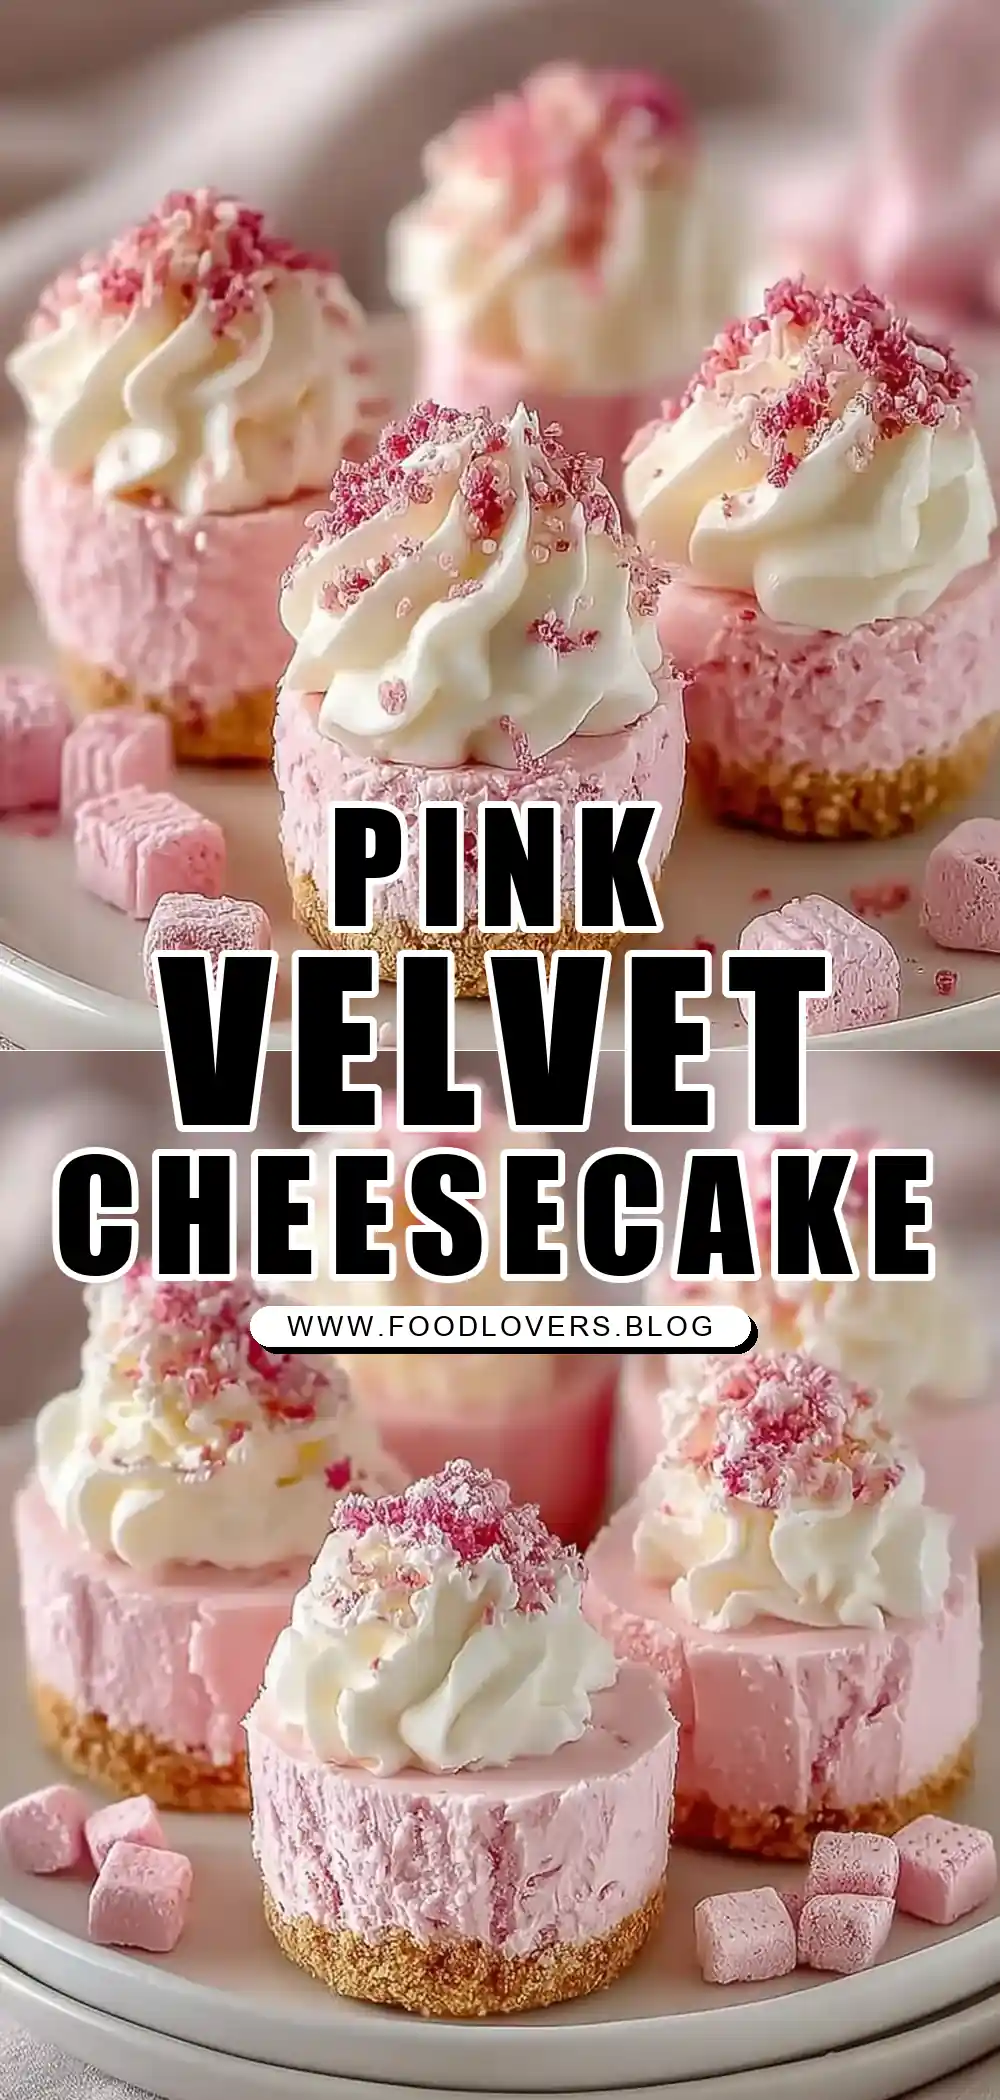
No Bake Pink Velvet Cheesecake Bites: Easy, Creamy, and Perfectly Pretty
Ingredients
Equipment
Method
- Mix graham cracker crumbs, melted butter, and a pinch of salt in a mixing bowl. Press into the base of your serving dish.
- In another bowl, beat cream cheese, powdered sugar, and vanilla extract until smooth. Add red food coloring or beet juice concentrate to achieve the desired pink color.
- Gently fold in whipped cream into the cream cheese mixture until combined. Spread over the crust.
- Chill in the refrigerator for at least 2 hours or until set.
- Garnish with mini chocolate chips, red velvet cake crumbs, fresh raspberries, or drizzle with white chocolate ganache before serving.
Notes