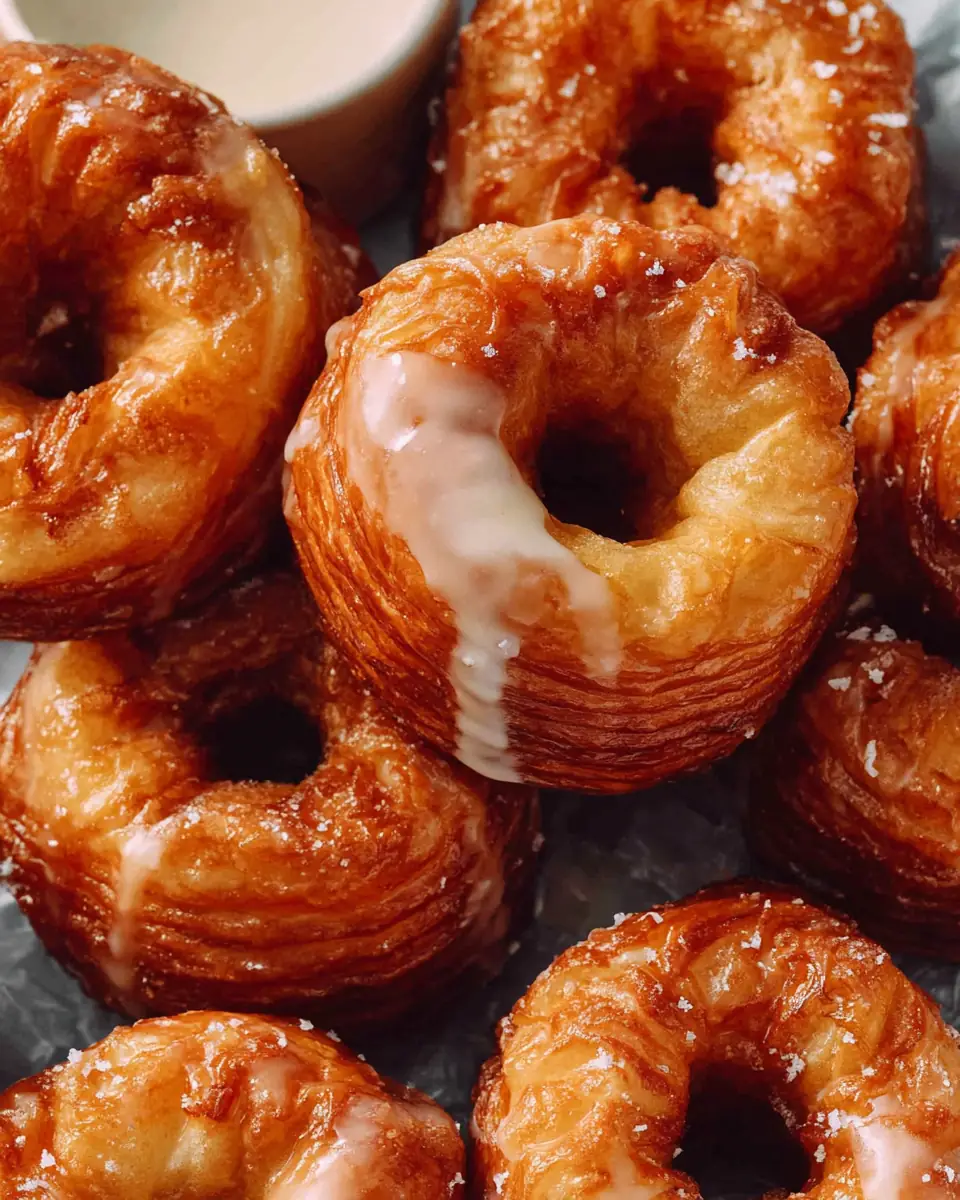
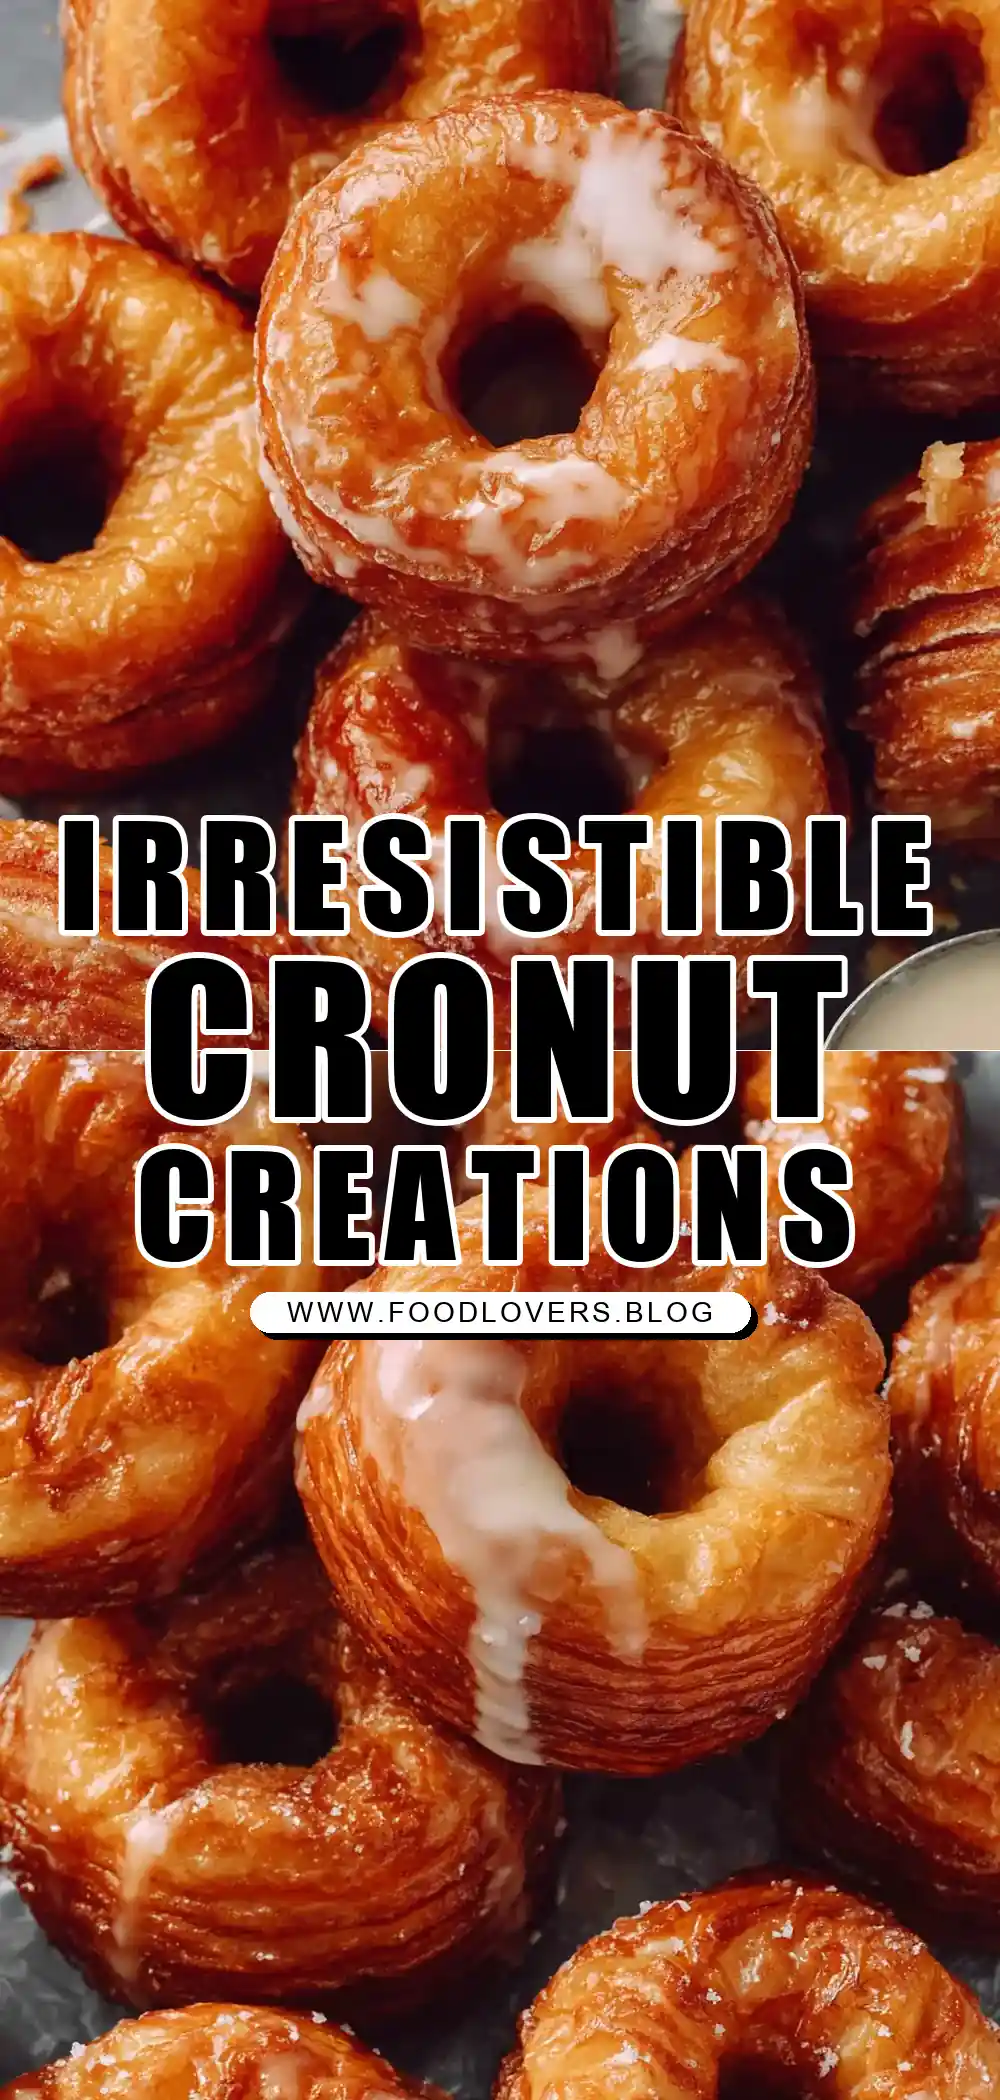
Cronuts: A Delightful Fusion of Croissant and Donut
Welcome to Food Lovers Blog, where we dive into the delightful world of culinary creations, uncovering the secrets behind both timeless classics and innovative fusions. Today, we’re embarking on an exciting journey to master the art of the cronut—a tantalizing blend of croissant and donut that has captivated pastry enthusiasts around the globe. Whether you’re an experienced baker or a curious novice, this comprehensive guide will help you create these irresistible pastries in your own kitchen.
The Origin of the Cronut
Before we dive into the recipe, let’s explore the origins of this delightful pastry. The cronut was invented by Chef Dominique Ansel in May 2013 at his bakery in New York City. The pastry quickly became a sensation, attracting long lines and even inspiring a black market due to its overwhelming popularity. Ansel’s creation combined the buttery, flaky layers of a croissant with the shape and deep-fried goodness of a donut, resulting in a unique and luxurious treat. Its success was not just a testament to its taste but also to the innovative spirit of modern baking, where boundaries of traditional pastries are constantly being pushed.
The popularity of the cronut also speaks to the broader trend of hybrid foods in the culinary world. From sushi burritos to ramen burgers, chefs are continually experimenting with combining different cuisines and cooking techniques. The cronut stands out in this trend, not just for its deliciousness but for the precise technique and patience required to make it. It’s a culinary marvel that showcases how creativity can transform classic elements into something entirely new and exciting.
Ingredients List
Crafting the perfect cronut requires precision and attention to detail. Here’s everything you’ll need:
For the Cronuts:
- 1 cup milk (227 grams, warm 105-110°F) – Substitute with oat milk for a non-dairy option
- 2¼ teaspoons active dry yeast (7 grams, 1 envelope)
- 3 tablespoons granulated sugar (38 grams)
- 2 large eggs (100 grams, room temperature)
- 1 teaspoon pure vanilla extract (4 grams)
- 1½ teaspoons kosher salt (5 grams)
- 3¾ cups all-purpose flour (450 grams)
- ¾ cup unsalted butter (170 grams, room temperature, 1½ sticks)
- Vegetable oil – For frying
For the Glaze:
- ¾ cup powdered sugar (85 grams)
- 1-2 tablespoons milk (14-28 grams)
- ½ teaspoon pure vanilla extract (2 grams)
The selection of ingredients is essential to ensure the cronut’s success. Using high-quality butter and fresh yeast can make a significant difference in the texture and flavor of your pastry. Additionally, experimenting with different types of vanilla extract, such as Madagascar or Tahitian, can impart subtle flavor variations that elevate the final product.
Timing
Total preparation and cooking time for cronuts is approximately 4 hours, which includes dough preparation, chilling, and frying. While this may seem lengthy, the result is well worth the effort—a pastry that’s flaky, buttery, and utterly indulgent. The preparation time also allows for a deeper appreciation of the process, as each step builds on the last to create a complex, layered delicacy.
Step-by-Step Instructions
For the Dough
Bloom the Yeast: Start by adding the warm milk, yeast, and sugar to the bowl of a stand mixer. Stir gently and let the mixture sit for about 5 minutes until it becomes frothy—a sign that the yeast is active and ready to work its magic. This step is crucial as it ensures the dough will rise properly, which is vital for achieving the desired texture.
Mix the Dough: Add in the eggs, vanilla, and salt. Attach the dough hook to your mixer, and on low speed, gradually introduce the flour. Mix until the dough is smooth and elastic, about 5-7 minutes. If the dough feels too sticky, add a bit more flour, a tablespoon at a time. The dough’s elasticity is key to developing the structure needed to hold the buttery layers.
Knead and Chill: Turn the dough out onto a lightly floured surface, knead it a few times to ensure even texture, then shape it into a ball. Wrap it tightly in plastic wrap and chill for at least 30 minutes. This step relaxes the gluten strands and makes the dough easier to handle. The chilling process is not just about convenience but is crucial for the dough’s development, allowing it to firm up for the layering process.
Layer with Butter: Roll your chilled dough into a 12×18-inch rectangle on a lightly floured surface. Spread the softened butter over the middle third of the dough. Fold one side over the butter, then fold the opposite side over that, like folding a letter. Wrap in plastic and refrigerate for another 30 minutes. The butter layer is what creates the cronut’s signature flakiness, so ensure it is evenly spread.
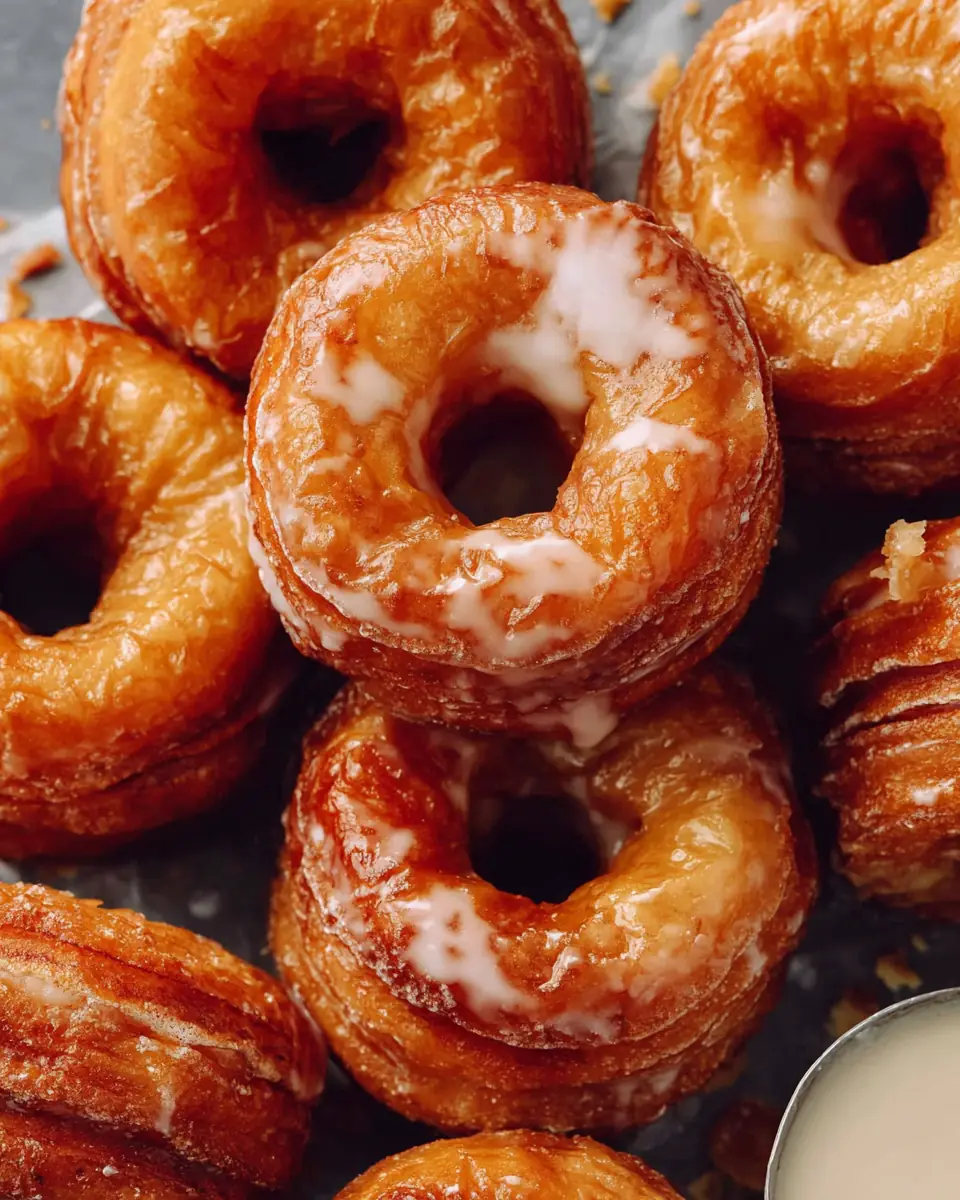
Repeat Folding: Roll out and fold the dough twice more, chilling for at least 1 hour between each fold. This process creates the signature flaky layers that are crucial to the cronut’s texture. Each fold builds dozens of layers, resulting in a pastry that’s both light and rich, with a delightful crunch.
Cut the Dough: Once the dough has rested and chilled sufficiently, roll it out to just under ½-inch thick. Use a round cutter to cut circles from the dough, and a smaller cutter to create the holes in the center. These will be your cronuts! The cutting process should be done with precision to ensure even cooking and aesthetically pleasing results.
For Frying
Heat the Oil: Prepare a Dutch oven with 2-3 inches of vegetable oil. Heat the oil to 350°F (175°C), using a thermometer to ensure consistent temperature. This is crucial to achieving that perfect golden exterior without burning. Consistent oil temperature ensures a crispy exterior while keeping the inside tender and moist.
Fry the Cronuts: Carefully add the cut cronuts to the hot oil in small batches to avoid overcrowding. Fry each side for about 2-3 minutes until they achieve a golden brown color. Remove with a slotted spoon and drain on paper towels to rid excess oil. The frying process is where the cronut truly comes to life, transforming from dough to a golden, flaky masterpiece.
For Glazing
Prepare the Glaze: In a small bowl, whisk together the powdered sugar, milk, and vanilla extract until smooth. Adjust the consistency with more milk if necessary. The glaze should be thick enough to coat each cronut but fluid enough to spread evenly.
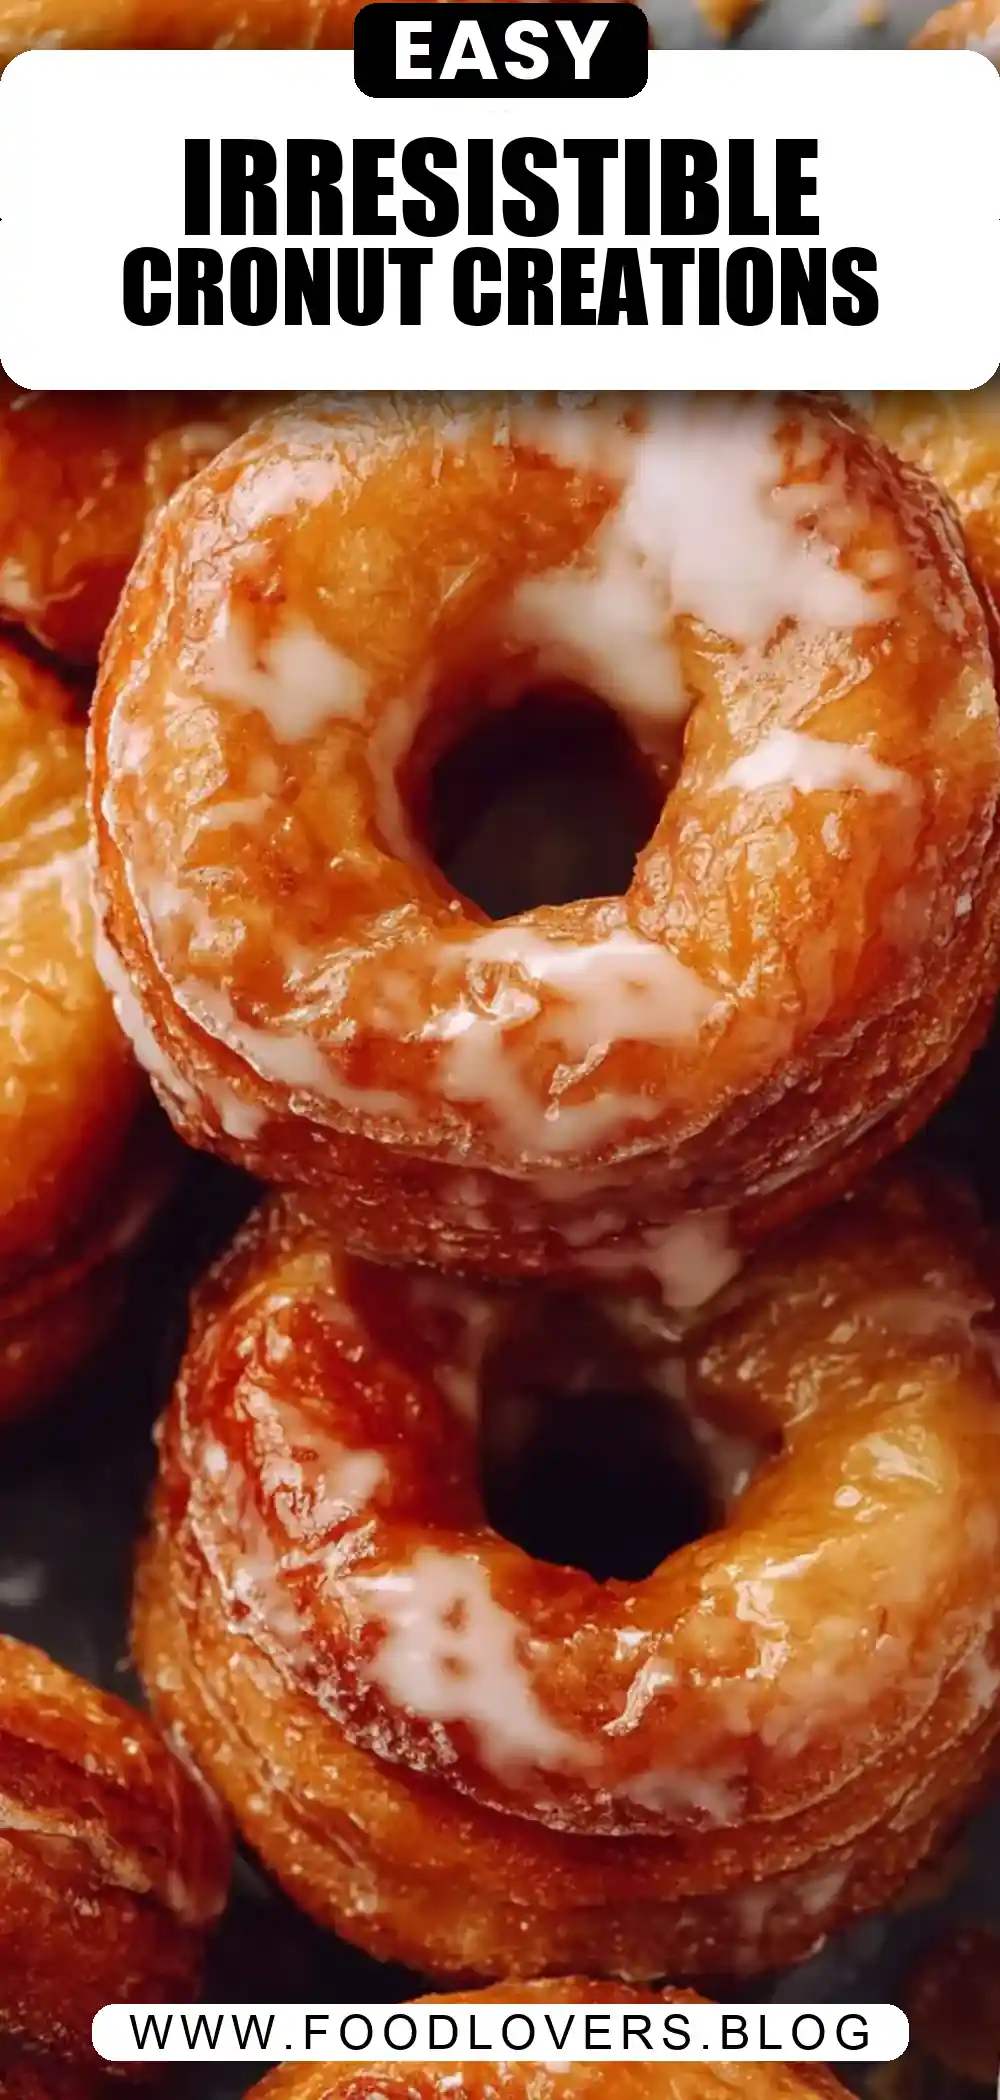
Glaze the Cronuts: Once the cronuts have cooled slightly, dip the tops into the glaze, allowing excess to drip off. Place them on a rack to set the glaze before serving. The glaze adds a sweet contrast to the buttery dough and can be customized with flavors like lemon or maple for a unique twist.
Nutritional Information
Each cronut contains approximately: – Calories: 430 kcal – Carbohydrates: 51g – Protein: 8g – Fat: 22g – Saturated Fat: 10g – Sodium: 377mg
While cronuts are an indulgent treat, being mindful of portion sizes and enjoying them in moderation allows you to savor their flavor without overindulging. Consider sharing them with friends or family to spread the joy of this delightful pastry.
Healthier Alternatives for the Recipe
Non-Dairy Option: If you prefer or need to avoid dairy, use oat milk or almond milk in place of regular milk. The result is just as delicious with a slightly different flavor profile. Non-dairy butters or margarine can also be used for the dough to accommodate dietary preferences.
Less Sugar: Consider reducing the sugar in both the dough and the glaze if you’re watching your sugar intake. The natural sweetness from the vanilla and the buttery dough will still shine through. Alternatively, using a natural sweetener such as honey or agave syrup can add a unique taste while reducing refined sugars.
Whole Wheat Flour: For a fiber boost, replace half of the all-purpose flour with whole wheat flour. This will add a subtle nuttiness and increase the nutritional value. Whole wheat flour can make the dough denser, so it may require slight adjustments in liquid ingredients to maintain the desired texture.
Serving Suggestions
Cronuts are best enjoyed fresh and slightly warm. Pair them with a hot cup of coffee or a cold glass of milk to complement their rich flavors. For a more indulgent experience, serve them with fresh berries or a dollop of whipped cream. Their versatile nature also makes them a delightful addition to brunch spreads or as a decadent dessert. Consider a cronut bar for gatherings, offering various glazes and toppings like crushed nuts, chocolate shavings, or fruit compotes for a customized treat.
Common Mistakes to Avoid
Incorrect Dough Texture: Achieving the right dough texture is crucial. If the dough is too sticky, add small increments of flour. If it’s too dry, a splash of milk can help. Dough consistency affects the final texture, so take your time to get it right.
Overheating Oil: Maintaining the oil at 350°F is key. Too hot, and the cronuts will burn; too cool, and they’ll absorb excess oil, resulting in a greasy texture. Use a digital thermometer to monitor oil temperature closely.
Inconsistent Layers: Proper folding and chilling are essential for creating the flaky, layered texture that defines a cronut. Don’t rush this process. Each fold and chill cycle is critical to developing the delicate layers characteristic of a well-made cronut.
Storing Tips for the Recipe
Cronuts are best enjoyed fresh but can be stored in an airtight container at room temperature for up to 2 days. For longer storage, freeze them individually and reheat in a preheated oven at 350°F for about 5 minutes before serving to restore their crispiness. Freezing the cronuts after frying and before glazing can help retain their texture when reheating.
Conclusion
Making cronuts at home is a rewarding endeavor that offers the satisfaction of creating a gourmet treat from scratch. With this guide, you’re now equipped to craft these delightful pastries that are sure to impress friends and family alike. The combination of buttery, flaky layers, and sweet glaze is a testament to the magic of pastry making—a true culinary triumph. Embrace the challenge and enjoy the process, as each step brings you closer to a delicious reward.
FAQs
Q: Can I make cronuts without a stand mixer?
A: Yes, you can mix the dough by hand. It will require a bit more effort and time, but the results will be just as satisfying. Be prepared to knead the dough longer to achieve the desired elasticity.
Q: Can I freeze the dough?
A: Absolutely. Wrap the dough tightly in plastic wrap and freeze it for up to a month. Thaw it in the refrigerator overnight before proceeding with the recipe. Freezing can be a convenient way to have dough ready for quick preparation when the craving hits.
Q: How long does it take to fry each cronut?
A: Each cronut takes approximately 2-3 minutes per side to achieve a perfect golden brown. Be sure to monitor the temperature of the oil closely. Frying in small batches helps maintain consistent oil temperature and ensures even cooking.
Explore more recipes and cooking tips at Food Lovers Blog and enhance your baking skills with our comprehensive guides and delicious ideas! Whether you’re looking to impress at your next gathering or simply indulge in a homemade treat, the cronut is a perfect choice. Happy baking!
Cronuts
Ingredients
Equipment
Method
- Add the milk, yeast, and sugar to the bowl of a stand mixer. Stir and then let it bloom for a few minutes.
- Whisk in the eggs, vanilla, and salt. Attach the dough hook to the mixer. Mix on low speed while gradually adding in the flour.
- Continue to mix on low for 3-4 minutes until the dough becomes smooth and elastic and pulls away from the sides of the bowl.
- Remove the dough from the mixer and place on the counter to knead a few times and shape into a ball.
- Wrap in plastic wrap and chill in the refrigerator for 30 minutes.
- On a floured surface, roll out the dough to a 12×18-inch rectangle. Visually divide the dough into thirds.
- Spread 7 tablespoons of butter onto the middle portion of the dough.
- Fold one side on top of the buttered middle third. Spread the rest of the butter on top of the folded side.
- Fold the remaining side inward on top of the 2nd buttered portion.
- Place the dough on a baking sheet, cover with plastic wrap, and refrigerate for another 30 minutes.
- Roll out the dough into a rectangle about the same dimensions as before. Fold the dough using the same pattern as before, turning each third inward over the middle third.
- Place on the sheet pan, cover and refrigerate for 30 minutes.
- Repeat the process of rolling to a rectangle and folding inward 2 more times.
- Place the dough back on the sheet pan, cover, and refrigerate for at least 1 hour.
- Roll out the dough to a little under ½-inch thick.
- Use a donut cutter, round cookie cutter, or jar to cut out 8-10 circles. Use a smaller round cookie cutter to cut out the holes in the circles.
- Place the donuts and donut holes on a lined baking sheet.
- Add 2-3 inches of oil to a Dutch oven and heat to 350°F.
- Working in batches (2-3 at a time), drop the donuts into the oil and fry for a couple minutes on each side until golden brown. Transfer to a baking rack or baking sheet lined with paper towel.
- Whisk together the glaze ingredients.
- Dip the top of each cronut in the glaze. Return to the rack to allow the glaze to set.