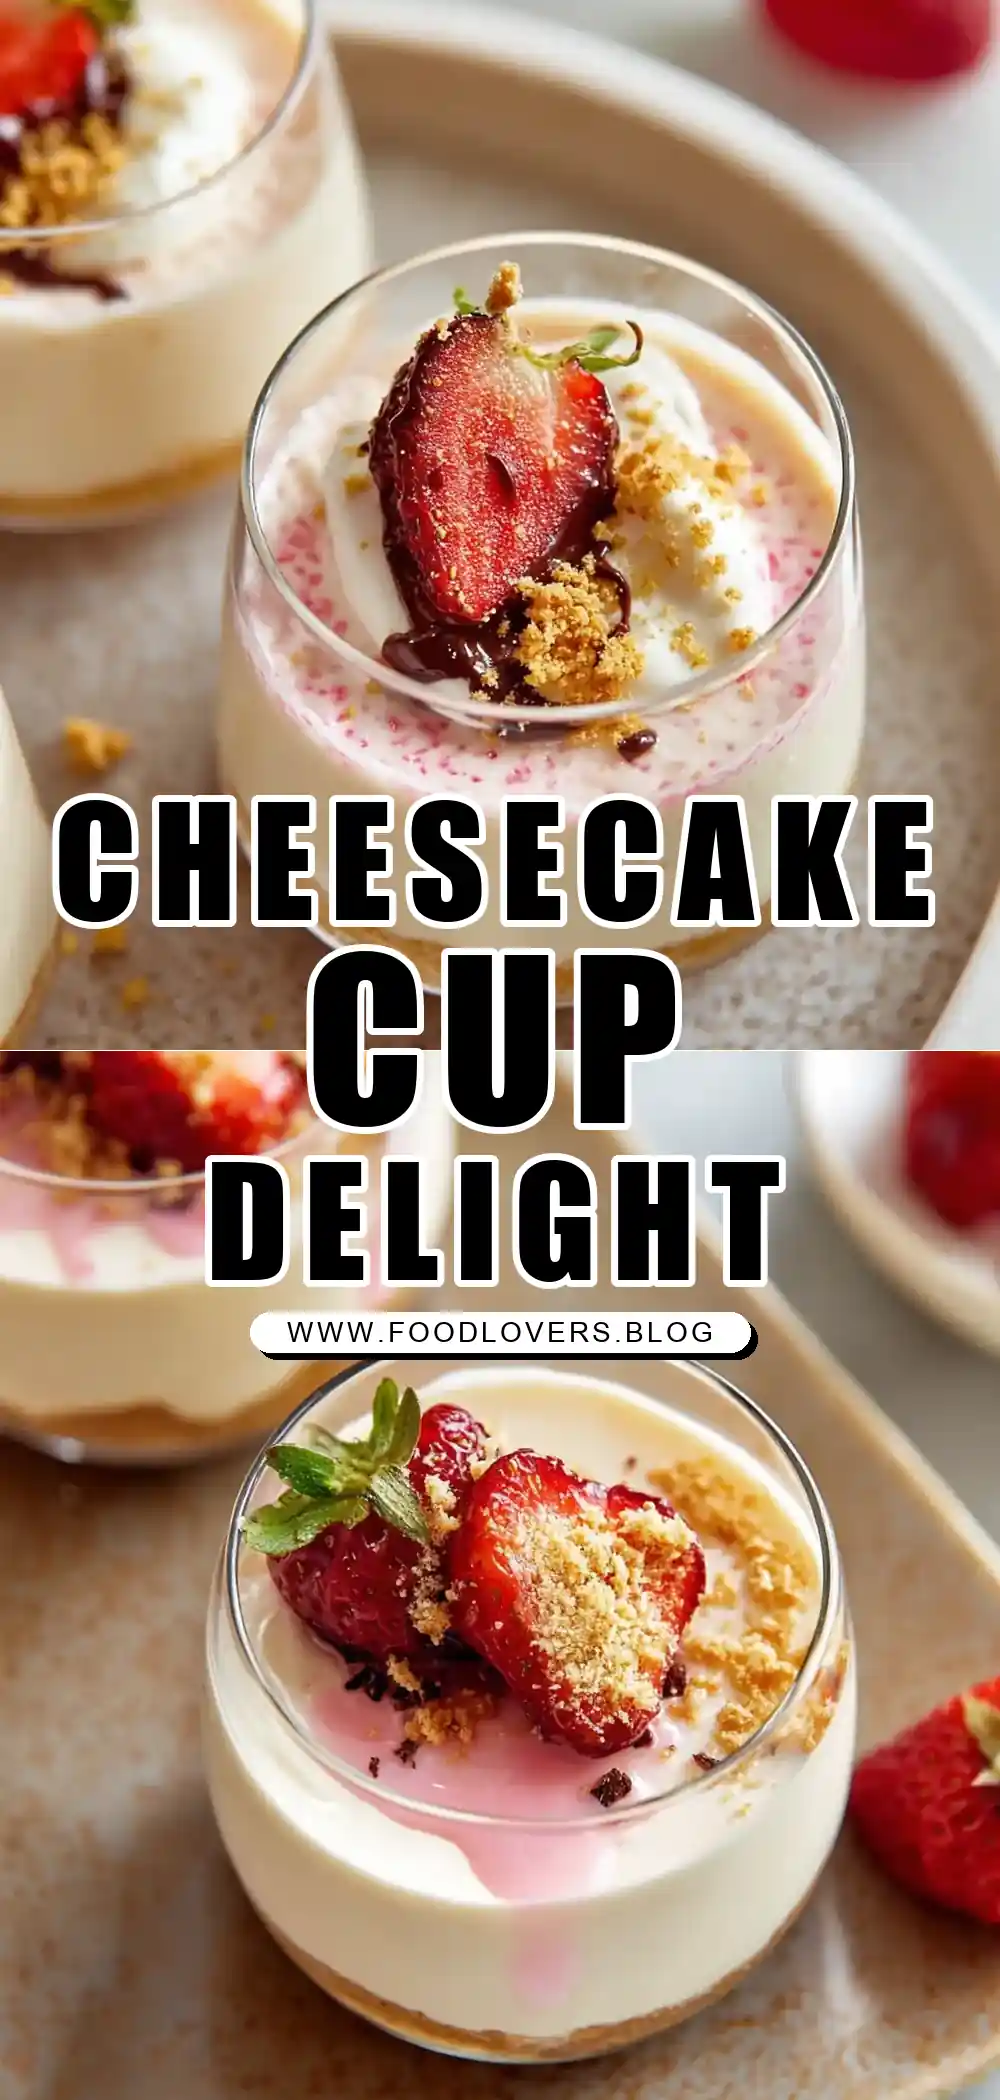
Introduction
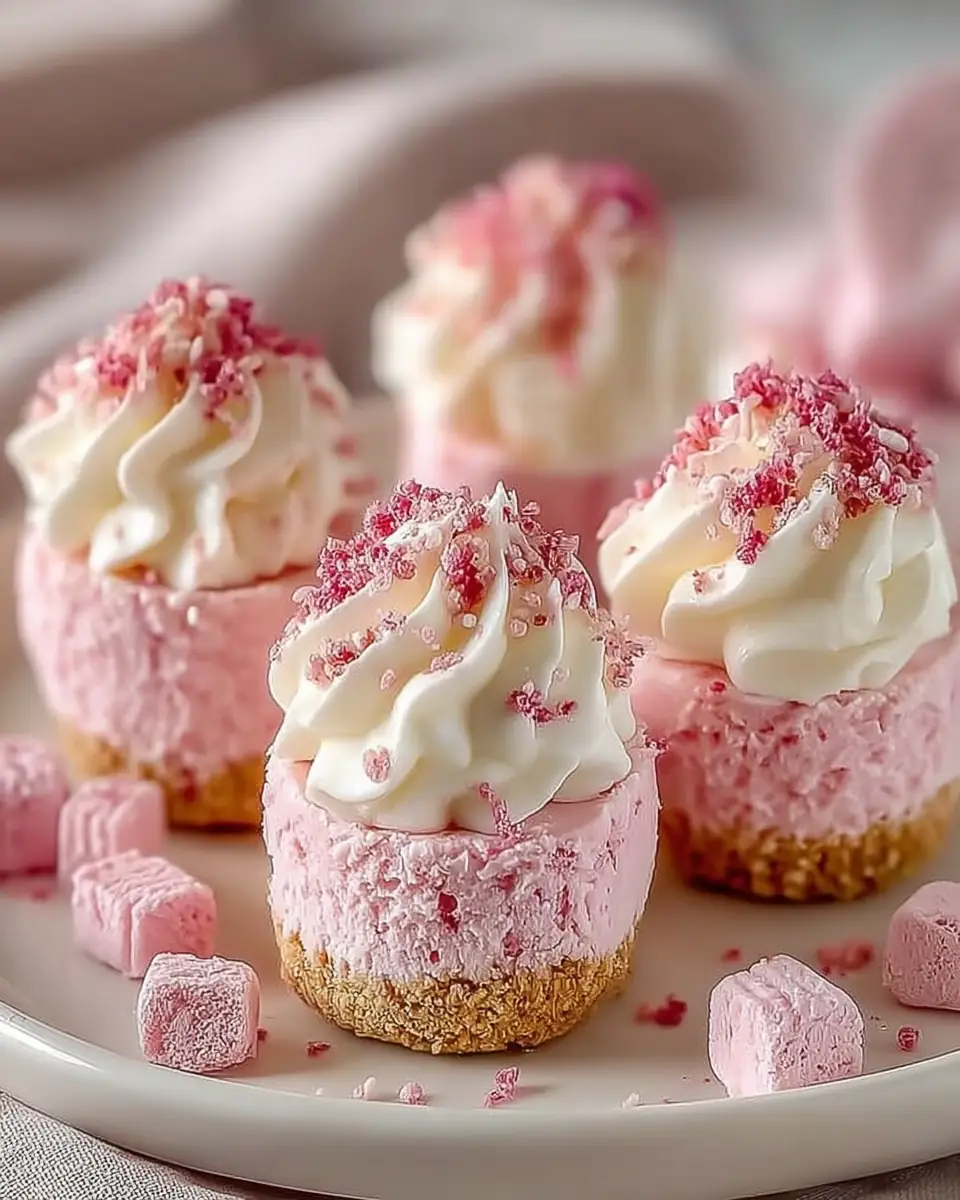
Desserts are often seen as the grand finale of a meal, an indulgent treat that leaves a lasting impression. The No Bake Cheesecake Cups are no exception. These delightful treats combine the creamy richness of cheesecake with the ease of a no-bake recipe, making them ideal for busy weeknights or as a quick contribution to a social gathering. In this expanded article, we’ll delve deeper into the world of No Bake Cheesecake Cups, exploring variations, detailed techniques, and the science behind the ingredients. Whether you’re an experienced baker or new to the kitchen, this recipe promises to be a crowd-pleaser. Let’s embark on this culinary journey!
The Appeal of No Bake Desserts
No bake desserts have surged in popularity due to their simplicity and speed. They eliminate the need for an oven, which is especially beneficial during warm months or in small kitchens. No bake recipes generally rely on refrigeration to set, making them a convenient option for those who prefer to prepare desserts in advance. Furthermore, these recipes often call for fewer ingredients, focusing on fresh, simple flavors that shine through without extensive cooking.
One of the greatest appeals of no bake desserts is their accessibility. Without the need for precise baking temperatures and times, even novice cooks can achieve professional-looking results. Additionally, the reduced cooking time means you can spend more time enjoying your creation with friends and family rather than being stuck in the kitchen.
Ingredients Breakdown
Yogurt: The Creamy Base
Vanilla-flavored custard-style yogurt serves as the creamy foundation of our cheesecake cups. It adds a tangy note that complements the richness of the cream cheese. If you’re looking for alternatives, Greek yogurt is an excellent choice. It offers a thicker texture and higher protein content, making it a healthier option without compromising on taste.
The choice between regular and Greek yogurt can significantly affect the texture and nutritional profile of your cheesecake cups. Greek yogurt’s higher protein content and thicker consistency can create a denser, more satisfying dessert, while traditional yogurt lends a lighter, silkier finish.
Cream Cheese: The Heart of Cheesecake
Cream cheese is the quintessential ingredient in cheesecake. Its smooth texture and mild flavor make it ideal for creating a rich, velvety dessert. Opting for low-fat cream cheese helps reduce the overall calorie and fat content of the dish, making it a guilt-free indulgence.
The science behind cream cheese’s role in cheesecake lies in its fat content. The fat molecules create a smooth, creamy texture that is essential for a satisfying cheesecake experience. When combined with yogurt, it creates a harmonious balance of flavors and textures.
Honey: Nature’s Sweetener
Honey not only sweetens the cheesecake mixture but also adds a distinct floral note. Unlike granulated sugar, honey enhances the depth of flavor and provides a natural sweetness that pairs beautifully with the tangy yogurt and cream cheese.
Honey is a versatile sweetener that brings more than just sweetness to the table. It contains antioxidants and has antimicrobial properties, making it a healthier alternative to refined sugars. Its complex flavor profile can vary depending on the floral source, adding a unique twist to your dessert.
Lemon Juice: The Zesty Kick
A splash of freshly squeezed lemon juice brightens the flavor profile of the cheesecake cups. It cuts through the richness, adding a refreshing citrusy tang that balances the sweetness. Lemon juice also acts as a natural preservative, extending the shelf life of the dessert.
The acidity in lemon juice plays a crucial role in balancing flavors. It acts as a natural emulsifier, helping to blend the cream cheese and yogurt smoothly. Additionally, the vitamin C content provides a nutritional boost, making your dessert both delicious and nutritious.
Vanilla Extract: Aromatic Essence
Pure vanilla extract is a staple in many dessert recipes. It enhances the flavor of the cheesecake mixture, providing a warm, aromatic undertone that complements the other ingredients. Opt for pure vanilla extract rather than imitation for the best results.
Vanilla extract’s role goes beyond flavor enhancement. Its aromatic compounds interact with other ingredients, amplifying their flavors and creating a more cohesive taste experience. This makes vanilla extract a vital component in achieving a well-rounded dessert.
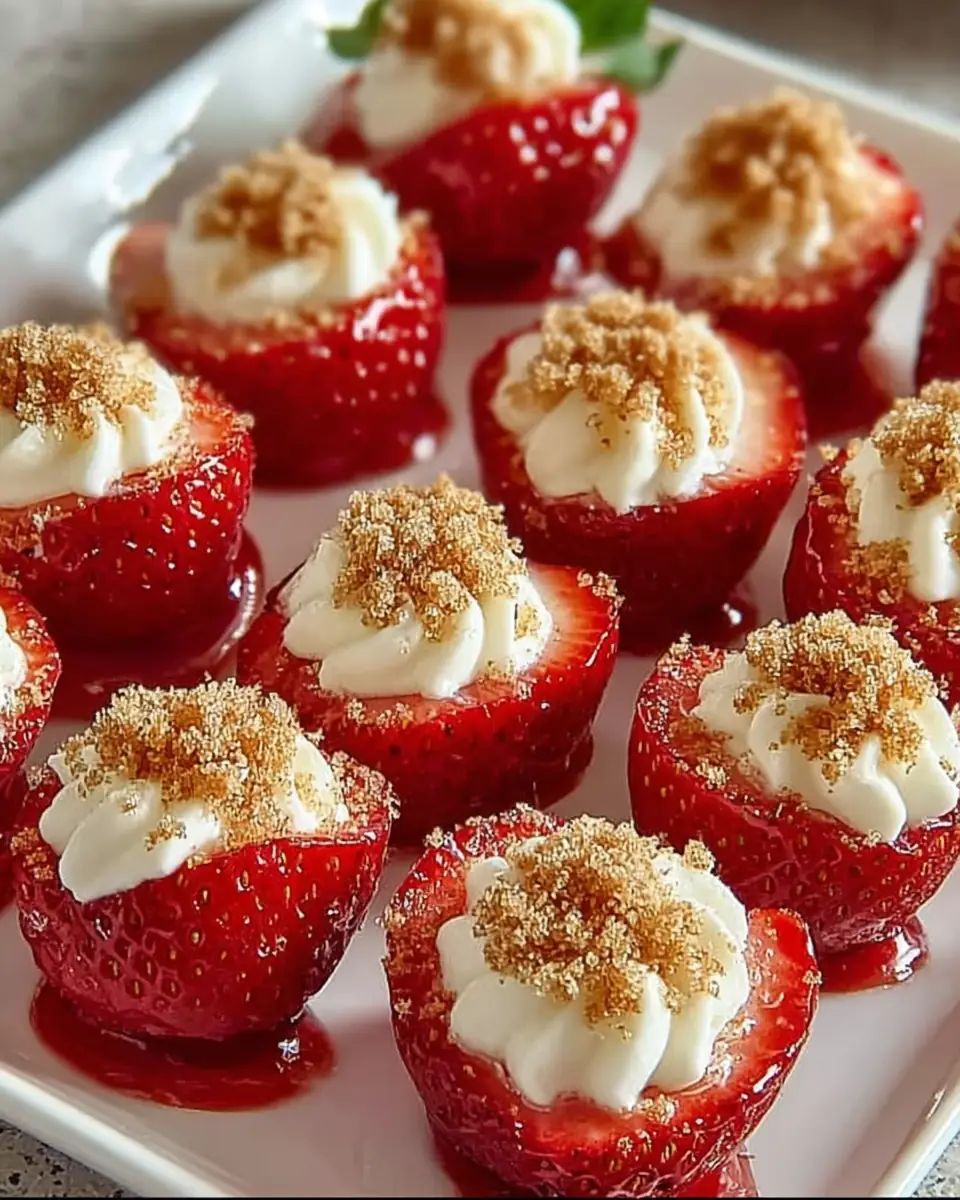
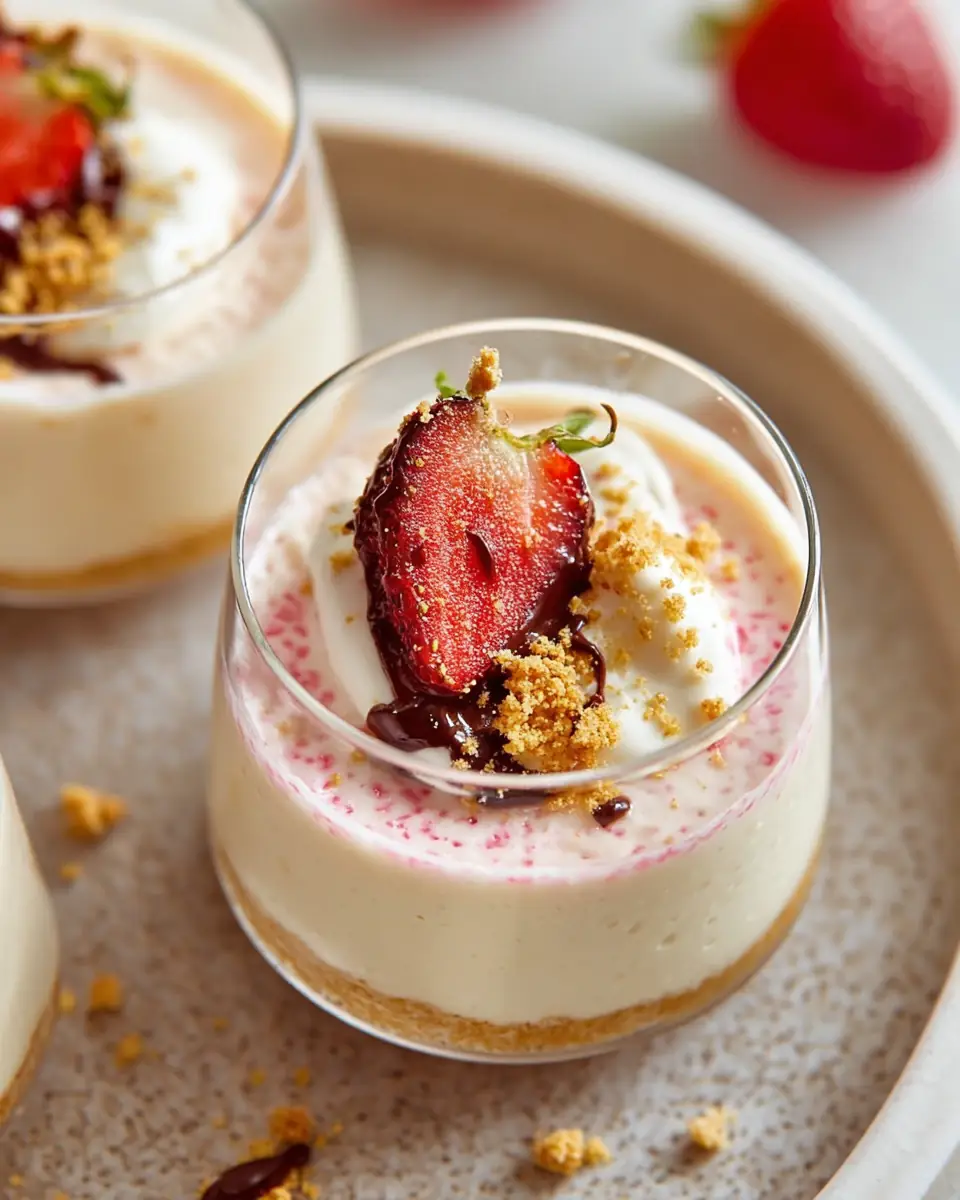
Graham Crackers: The Crunchy Crust
Graham crackers form the base layer of the cheesecake cups, adding a satisfying crunch that contrasts with the creamy filling. Crushing the crackers finely ensures an even distribution and prevents sogginess. For a gluten-free version, consider using gluten-free graham crackers or crushed nuts.
The texture contrast between the crunchy crust and the creamy filling is a hallmark of cheesecake. The graham crackers provide structural integrity and a hint of sweetness, while their neutral flavor allows the cheesecake filling to shine.
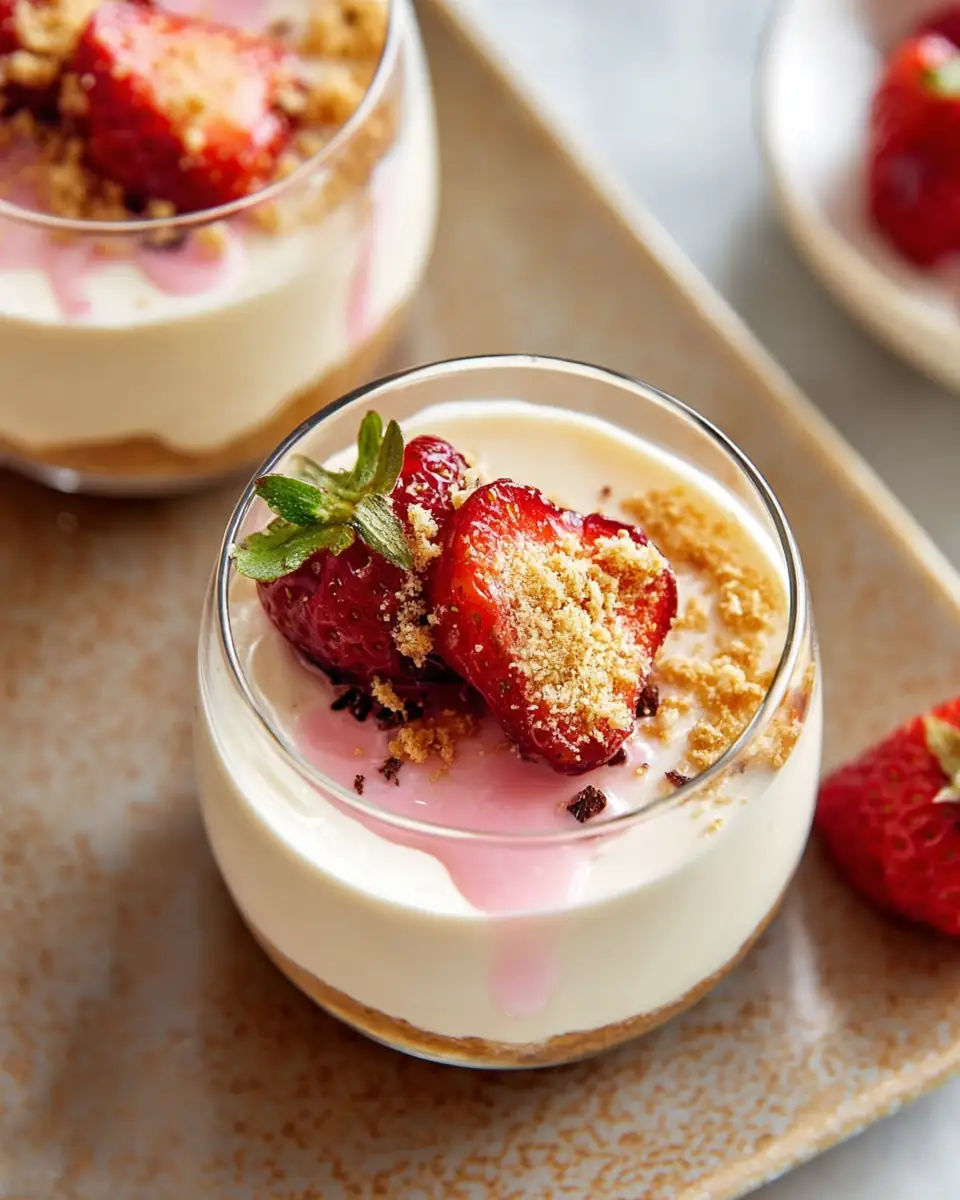
Optional Toppings: Whipped Topping and Strawberries
Adding a dollop of low-fat whipped topping and fresh strawberries not only enhances the visual appeal of the cheesecake cups but also introduces additional flavors and textures. The strawberries provide a juicy, sweet-tart contrast to the rich cheesecake.
Toppings are an opportunity to personalize your dessert. From fresh fruit to chocolate shavings, the possibilities are endless. They add visual appeal and introduce new flavors and textures, making each bite a delightful surprise.
Step-by-Step Instructions with Tips
Step 1: Prepare the Cheesecake Mixture
- Pro Tip: Ensure all ingredients are at room temperature before mixing. This helps achieve a smoother, lump-free mixture.
- Technique: Use a hand mixer to combine the yogurt, cream cheese, honey, lemon juice, vanilla extract, and salt. Start on a low speed to prevent splattering, gradually increasing to medium until the mixture is silky smooth.
Step 2: Assemble the Cups
- Pro Tip: For even layers, use a small measuring cup or spoon to distribute the crushed graham crackers evenly.
- Technique: Gently press the crushed graham crackers into the bottom of each serving dish to create a firm crust.
Step 3: Add the Cheesecake Mixture
- Pro Tip: Use a piping bag or a zip-top bag with a corner snipped off to neatly distribute the cheesecake mixture over the crust.
- Technique: Spoon or pipe the cheesecake mixture evenly over the graham cracker layer, smoothing the top with the back of a spoon.
Step 4: Chill to Set
- Pro Tip: Cover the cups with plastic wrap to prevent any refrigerator odors from affecting the cheesecake’s flavor.
- Technique: Refrigerate the cups for at least 2-3 hours. If time allows, chilling overnight yields the best texture.
Step 5: Garnish and Serve
- Pro Tip: Garnish just before serving to ensure the whipped topping remains fluffy and the strawberries stay fresh.
- Technique: Add a dollop of whipped topping and a few slices of strawberry to each cup for a pop of color and flavor.
Nutritional Information and Dietary Adjustments
As detailed earlier, each serving of No Bake Cheesecake Cups offers a balanced nutritional profile. However, there are several ways to tailor this recipe to meet specific dietary needs:
- Low Carb: Substitute the graham crackers with almond flour or crushed nuts for a low-carb crust. This not only reduces the carbohydrate content but also introduces a nutty flavor that pairs well with the creamy filling.
- Dairy-Free: Use dairy-free cream cheese and yogurt alternatives, such as those made from almond or coconut milk. This adjustment ensures that those with lactose intolerance or dairy allergies can enjoy the dessert without worry.
- Vegan: Replace cream cheese with a vegan alternative and honey with agave syrup or maple syrup. These swaps allow vegans to enjoy a creamy, indulgent dessert that aligns with their dietary choices.
Creative Variations
The versatility of No Bake Cheesecake Cups allows for endless creativity. Here are some variations to consider:
- Chocolate Lovers: Add cocoa powder to the cheesecake mixture for a chocolatey twist. Top with chocolate shavings or mini chocolate chips for an extra indulgence that chocolate enthusiasts will adore.
- Berry Medley: Incorporate a layer of mixed berry compote between the crust and cheesecake mixture for added fruitiness. The natural sweetness and vibrant colors of the berries enhance the visual and taste appeal.
- Nutty Delight: Sprinkle chopped nuts, such as almonds or pistachios, on top for a crunchy finish. This variation adds a delightful textural contrast and a nutty aroma that complements the creaminess.
Common Mistakes to Avoid
- Overmixing: Avoid overmixing the cheesecake mixture to prevent incorporating too much air, which can lead to a runny texture. A gentle hand ensures a smooth, dense filling.
- Skipping the Chilling Time: Patience is key. Allowing the cheesecake cups to chill adequately ensures they set properly and develop their full flavor. Rushing this step can result in a less satisfying texture.
- Improper Storage: Store leftovers in an airtight container to maintain freshness and prevent the cheesecake from absorbing other flavors from the fridge. Proper storage extends the dessert’s shelf life and preserves its taste.
Storing and Serving Tips
For optimal results, serve No Bake Cheesecake Cups within 24 hours of preparation. If storing, keep them in an airtight container in the refrigerator. For longer storage, consider making individual components (crust and filling) separately and assembling closer to serving time. This approach maintains the freshness and texture of each component.
Conclusion
No Bake Cheesecake Cups are a testament to the fact that simplicity and elegance can coexist in the culinary world. These cups deliver a luxurious dessert experience without the demands of traditional baking. Whether enjoyed as is or customized with personal touches, they are sure to impress. We hope this expanded guide empowers you to create these delightful treats, bringing joy to your taste buds and those of your loved ones.
FAQs
Q: Can I use flavored yogurt instead of vanilla?
A: Yes, flavored yogurts can add a unique twist to the cheesecake cups. Just be mindful of the added sugars in flavored varieties, which may affect the overall sweetness and nutritional profile.
Q: What if I don’t have a hand mixer?
A: A stand mixer or even a whisk can be used, though a hand mixer provides more control for achieving the desired texture. Mixing by hand may require more effort but can yield equally delicious results.
Q: How can I make the cheesecake cups more festive?
A: Consider adding edible glitter, festive sprinkles, or colored whipped topping for a themed appearance. These simple additions can transform your dessert into a centerpiece for any celebration.
For more delightful recipes and culinary tips, visit FoodLovers.blog. Happy creating!

No Bake Cheesecake Cups
Ingredients
Equipment
Method
- Place all of the cheesecake mixture ingredients in a large bowl and beat with a hand mixer until the mixture is a smooth consistency, scraping down the sides of the bowl as necessary.
- Place 2 tablespoons crushed graham crackers in the bottom of each individual dish.
- Spoon approximately ¾ cup of the cheesecake mixture onto the graham crackers in each dish.
- Refrigerate, uncovered, 2-3 hours, or until set.
- Garnish with a dollop of whipped topping and 1 fresh strawberry per dessert, if desired.