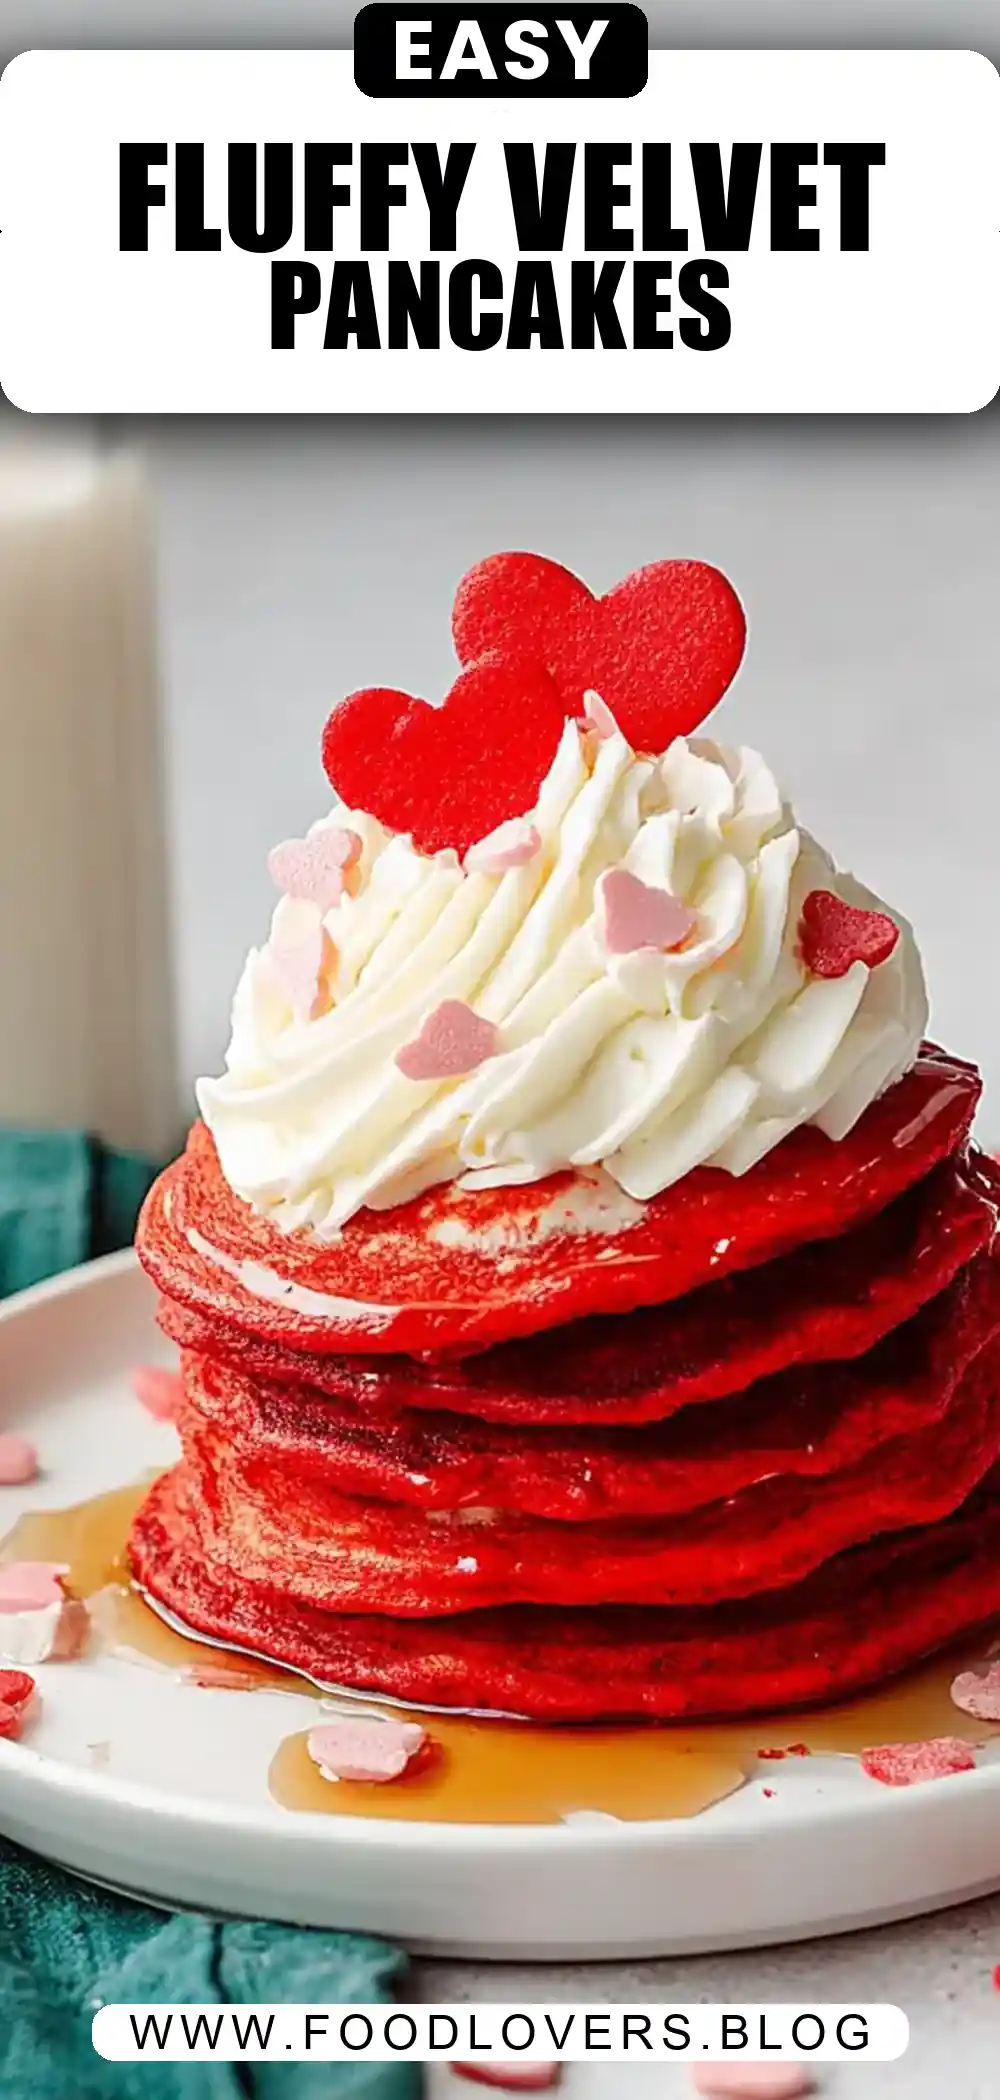
Red Velvet Pancakes: A Deliciously Decadent Breakfast Treat
Welcome to Food Lovers Blog, where we bring you the best in culinary inspiration and mouthwatering recipes. Today, we’re diving into a breakfast delight that’s sure to steal your heart (and taste buds): Red Velvet Pancakes. Perfect for brunch or a special morning treat, these pancakes are a sumptuous blend of sweet and savory, with a stunning red hue that adds a touch of elegance to your table. Let’s explore how to make this delightful dish, packed with tips and tricks to ensure perfection every time.
The Allure of Red Velvet
Before we dive into the recipe, let’s take a moment to appreciate what makes red velvet so special. Traditionally, red velvet cake is known for its subtle cocoa flavor and smooth, velvety texture. The distinctive red color, often achieved with food coloring, lends a dramatic presentation that elevates any dish from ordinary to extraordinary. By incorporating these elements into pancakes, we create a breakfast item that is both visually stunning and incredibly satisfying.
Historical Context
The origins of red velvet cake are somewhat shrouded in mystery, adding to its allure. Some say it emerged in the early 20th century, possibly from the kitchens of the Waldorf-Astoria Hotel in New York. Others trace it to Southern American roots, where buttermilk-based cakes were common. The red hue initially came from a chemical reaction between acidic vinegar and buttermilk with natural cocoa, which used to have anthocyanins, a pigment sensitive to pH. Over time, food coloring was introduced to enhance the color, creating the vibrant red we associate with the dessert today.
Ingredients List
To create these delicious Red Velvet Pancakes, you’ll need:
- 1 cup (120g) all-purpose flour
- 2 tablespoons granulated sugar
- 1 tablespoon cocoa powder
- 1 teaspoon baking powder
- ½ teaspoon baking soda
- ¼ teaspoon salt
- ¾ cup (177ml) buttermilk
- 2 large eggs
- 2 tablespoons melted butter
- 1 teaspoon vanilla extract
- 1-2 tablespoons red food coloring
- Sprinkles and whipped cream for topping
Ingredient Insights
- All-Purpose Flour: Provides the structure for the pancakes. For a fluffier texture, you can use cake flour.
- Cocoa Powder: Just a touch is enough to infuse a mild chocolate flavor, staying true to the red velvet tradition.
- Buttermilk: The acidity from the buttermilk reacts with the baking soda to produce extra fluffy pancakes.
- Red Food Coloring: The signature red color can be adjusted to your preference, making these pancakes visually striking.
Timing
- Preparation Time: 10 minutes
- Cooking Time: 15 minutes
- Total Time: 25 minutes
Step-by-Step Instructions
Step 1: Prepare the Wet Ingredients
In a large mixing bowl, whisk together the buttermilk, granulated sugar, eggs, melted butter, and vanilla extract until well combined. The key here is to ensure the sugar dissolves completely, which will help in distributing sweetness evenly throughout the batter.
Step 2: Incorporate the Dry Ingredients
Sift in the all-purpose flour, cocoa powder, baking powder, baking soda, and salt. Stir until just combined, ensuring not to overmix. It’s okay if a few lumps remain. The sifting process helps in aerating the dry ingredients, which contributes to the lightness of the pancakes.
Step 3: Add the Color
Gradually mix in the red food coloring, starting with a few drops and adding more until you achieve your desired vibrant hue. Remember, the color will lighten slightly during cooking, so aim for a slightly darker shade in the batter.
Step 4: Cook the Pancakes
Heat a non-stick skillet or griddle over medium heat and lightly grease it. Pour about ¼ cup of batter for each pancake. Cook until bubbles form on the surface, then flip and cook the other side until lightly browned. Repeat until all the batter is used. Patience is key; flipping too early can cause the pancakes to break apart.
Pro Tips for Pancake Perfection
- Skillet Temperature: A non-stick skillet or griddle at the right temperature (medium heat) ensures an even cook. If the skillet is too hot, the outside will burn before the inside cooks through.
- Batter Consistency: The batter should be thick but pourable. If it’s too thick, add a tablespoon of buttermilk at a time until you reach the desired consistency.
- Resting the Batter: Allowing the batter to sit for a few minutes before cooking helps it settle, resulting in fluffier pancakes.
Nutritional Information
Each serving of Red Velvet Pancakes contains approximately:
- Calories: 253 kcal
- Carbohydrates: 33g
- Protein: 8g
- Fat: 10g
- Saturated Fat: 5g
- Cholesterol: 102mg
- Sodium: 513mg
- Fiber: 1g
- Sugar: 9g
Healthier Alternatives for the Recipe
To make a healthier version of Red Velvet Pancakes, consider these substitutions:
- Gluten-Free: Swap all-purpose flour for gluten-free flour for those with gluten sensitivities or celiac disease.
- Lower Sugar: Reduce sugar by half or use a sugar substitute like stevia or erythritol to lower the calorie content.
- Dairy-Free: Use almond milk with a tablespoon of lemon juice instead of buttermilk, which works wonderfully for those who are lactose intolerant or following a vegan diet.
Exploring More Ingredient Substitutions
- Egg Replacements: For a vegan alternative, use flaxseeds or chia seeds. Mix one tablespoon of flaxseed meal or chia seeds with 2.5 tablespoons of water per egg, and let it sit for 5 minutes to thicken.
- Natural Color Alternatives: Instead of synthetic food coloring, beetroot powder or pureed strawberries can add a natural red hue to the pancakes.
Serving Suggestions
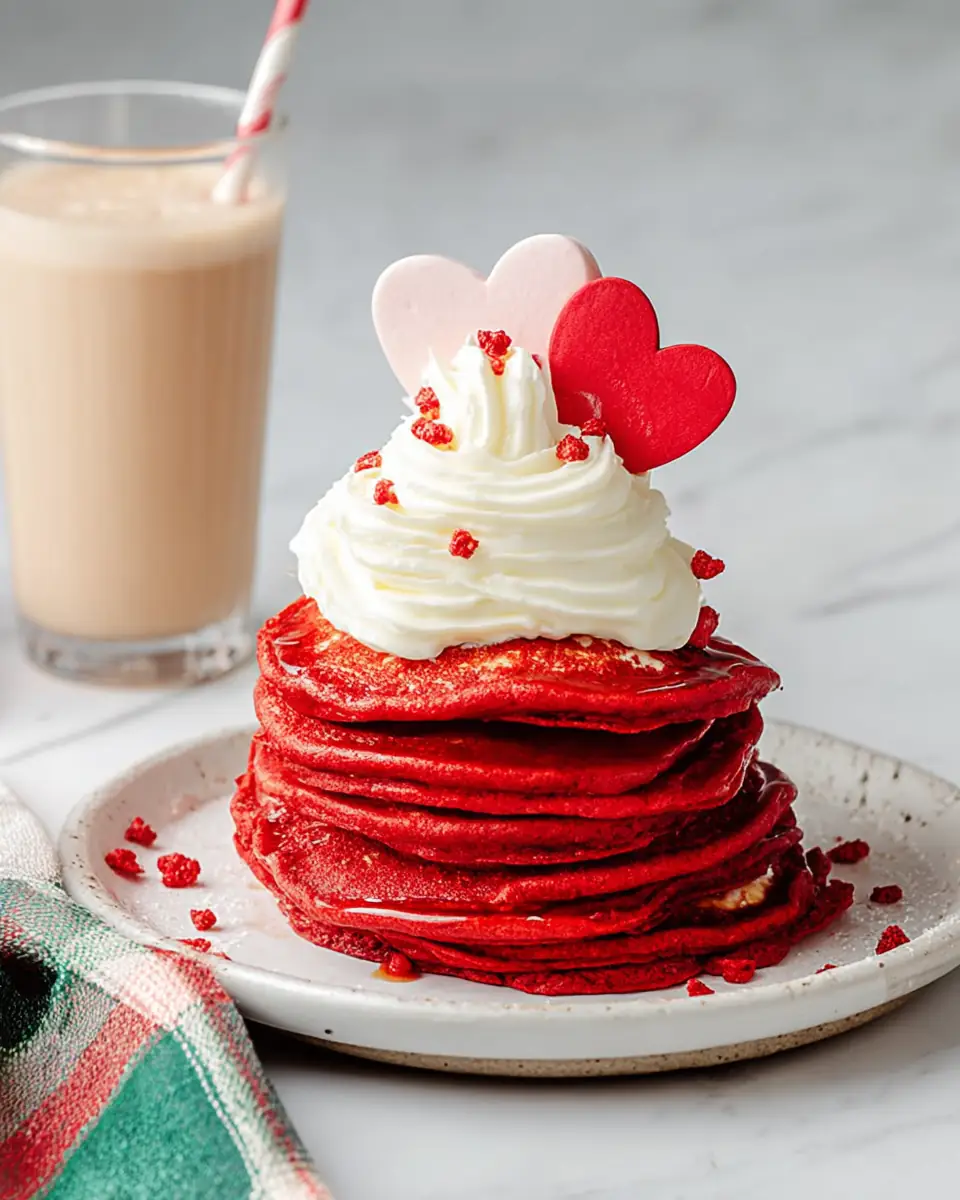
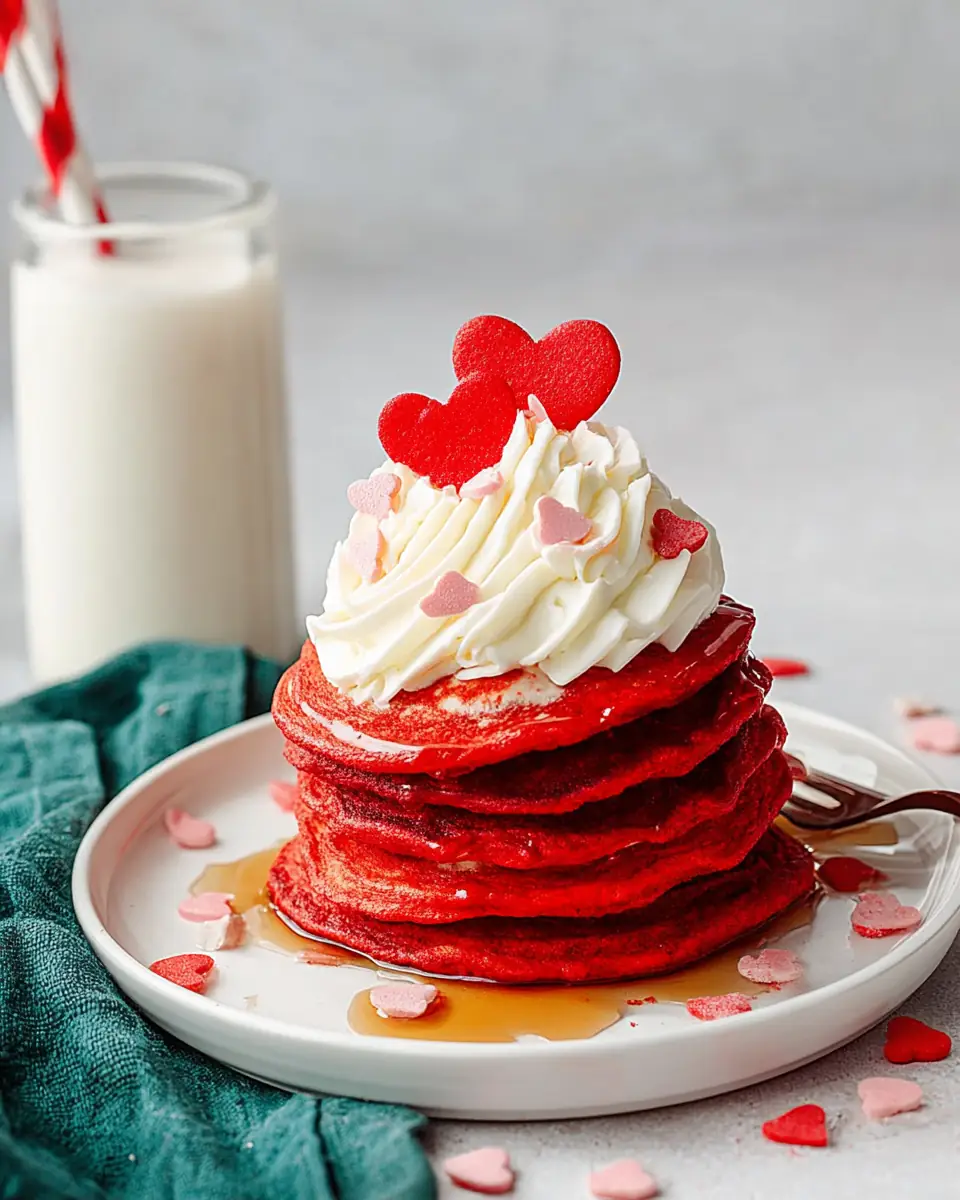
Serve your Red Velvet Pancakes warm, topped with a generous dollop of whipped cream and a sprinkle of colorful sprinkles. For an added touch of decadence, drizzle with chocolate syrup or serve alongside a scoop of vanilla ice cream. Fresh berries such as strawberries or raspberries can also add a refreshing contrast to the richness of the pancakes.
Elevating Your Pancake Presentation
- Layered Pancake Stack: Create a layered pancake tower, alternating pancakes with layers of cream cheese frosting for a cake-like presentation.
- Themed Toppings: For special occasions like Valentine’s Day, consider heart-shaped sprinkles or edible glitter to add a festive flair.
Common Mistakes to Avoid
- Overmixing the Batter: This can lead to rubbery pancakes. Stir until just combined. Overmixing activates gluten, which can make the pancakes tough.
- Incorrect Heat: Too high heat can burn the pancakes; medium heat is ideal. A slow, even cook ensures the middle is done without burning the edges.
- Skipping Rest Time: Allow the batter to rest for 2-3 minutes before cooking for optimal fluffiness. This rest period allows the flour to hydrate fully and the leavening agents to start working.
Troubleshooting Tips
- Pancakes Sticking to the Pan: Ensure the skillet is properly greased and heated before adding the batter. If sticking persists, check if the non-stick coating is worn out.
- Uneven Cooking: If pancakes are cooking unevenly, consider redistributing the batter evenly by gently shaking the skillet or using a spatula to spread the batter.
Storing Tips for the Recipe
Store any leftover pancakes in an airtight container in the fridge for up to 2 days. Reheat in a skillet over medium heat or in the microwave for a quick breakfast treat. For longer storage, place pancakes in a single layer on a baking sheet, freeze until solid, then transfer to a zip-top bag for up to a month.
Creative Ways to Use Leftovers
- Pancake Sandwiches: Use leftover pancakes to create breakfast sandwiches by layering with cream cheese and jam.
- Pancake Croutons: Cut leftover pancakes into cubes, toast them lightly, and use them as croutons for a sweet breakfast salad with fruits and yogurt.
Conclusion
Red Velvet Pancakes are a delightful way to elevate your breakfast experience, combining flavors and aesthetics in a way that’s sure to impress. Whether it’s a lazy weekend brunch or a special occasion, these pancakes are a guaranteed hit. The combination of rich, chocolatey flavor with a hint of tang from the buttermilk is irresistible, and the vibrant red color is an instant mood booster.
FAQs
Q: Can I make these pancakes without food coloring?
A: Yes, you can omit the food coloring for a more natural look, though they won’t have the classic red velvet appearance. You could also try using natural colorings like beet juice for a healthier option.
Q: What can I use as a buttermilk substitute?
A: Mix ¾ cup of milk with 1 tablespoon of lemon juice or vinegar and let it sit for 5 minutes as a homemade buttermilk alternative. This homemade version will mimic the acidity and thickness of store-bought buttermilk.
Q: How can I make the pancakes fluffier?
A: Ensure your baking powder is fresh and let the batter rest before cooking to enhance fluffiness. Also, avoid pressing down on the pancakes while they cook, which can deflate them.
For more delicious breakfast ideas, check out our Easy Air Fryer Recipe Ebook and Instant Pot Dump and Dash Recipe Ebook for quick, flavorful meals. Happy cooking!
By following these tips and suggestions, you’ll be able to create perfect Red Velvet Pancakes every time. Whether you’re a seasoned cook or a beginner in the kitchen, this recipe is approachable and rewarding. Enjoy the process, and most importantly, savor every bite of this delicious breakfast treat!
Additional Resources
- Exploring Pancake Varieties: Learn about different pancake styles from around the world, such as Dutch pancakes or Japanese soufflé pancakes, and how they differ from traditional American pancakes.
- Cooking Workshops: Consider joining a virtual cooking workshop to refine your pancake-making skills, where you can get live feedback and tips from professional chefs.
With these insights and techniques, you’re well on your way to mastering the art of Red Velvet Pancakes, ensuring a delightful and memorable breakfast experience every time.

Red Velvet Pancakes
Ingredients
Equipment
Method
- In a large mixing bowl, whisk together the buttermilk, sugar, eggs, melted butter, and vanilla extract.
- Sift in the flour, cocoa powder, baking powder, baking soda, and salt and stir until just combined. Do not overmix; a few lumps are okay.
- Add a few drops of red food coloring and mix. Add more if needed to reach the desired color.
- Heat a non-stick skillet or griddle over medium heat and lightly grease it.
- Pour about ¼ cup of batter onto the skillet for each pancake. Cook until bubbles form on the surface, then flip and cook the other side until lightly browned. Repeat with remaining batter.
- Serve the pancakes warm, topped with sprinkles and a dollop of whipped cream.